
Years ago Husband cut up a moth-eaten antique Hudson Bay wool blanket to make a coat for trips and activities with his Boy Scouts. Some people might have considered that sacrilege, but it was never going to be used as a blanket.
For some reason, I saved the scraps.
Lately I have been looking at the wool pressing mats and considering whether or not I really needed one, when those scraps came to mind…Did I still have them?
YES! So into the wash they went. And they came out in good shape.
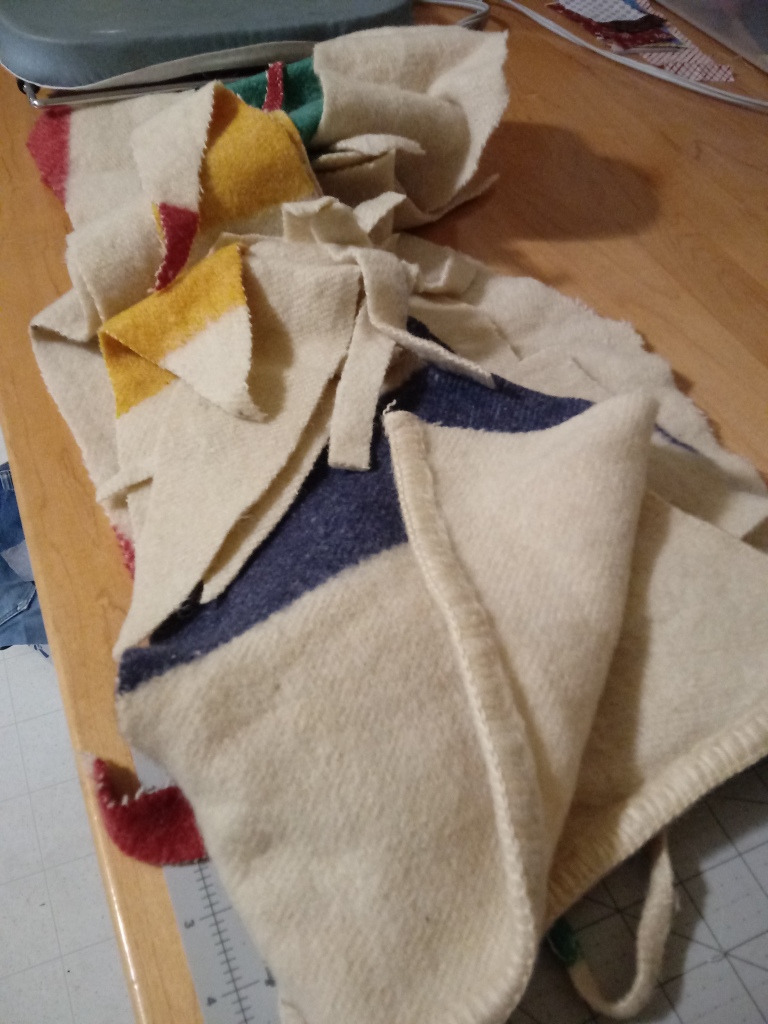
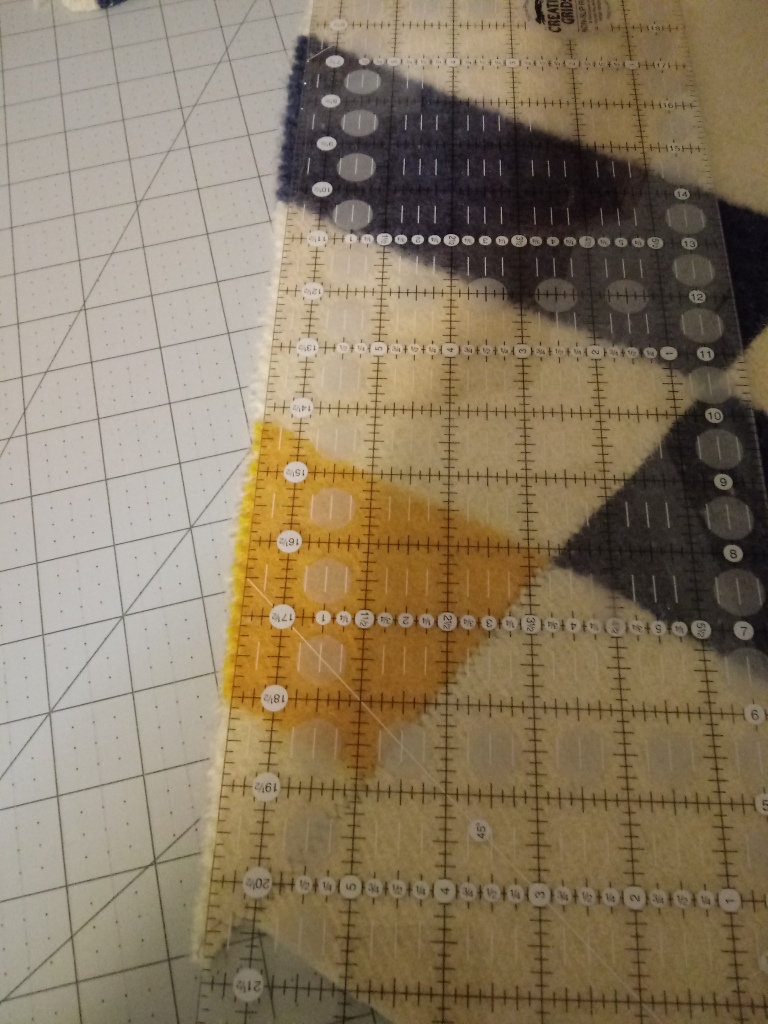
I trimmed edges smooth and square.
And stitched together by butting the pieces and using a large zig zag stitch, like a person would use to join batting scraps.


Wide single fold bias tape finished the edges and holds together the two layers. I trust that use will get them comfortable staying in place.

Ta-dah! It is 12-1/2″ square and about 3/8″ thick when pressed down, but I am pretty sure it is thick enough. At least my first tries at pressing look nice and flat. And there is enough left to make another one 10-1/2″ square for Daughter. I think you could do the same with multiple layers of any good wool.

What a great idea! I’ve wondered about using wool and felting it for smaller things like wrapping around a wooden tube for pressing seams open. I already have a square mat and really like it – but they are so expensive! Nice to see someone having a go. Thank you Deanna!
I made one out of old wool pants that were too small for my husband.
I made a “wool pressing pad” from a blanket I inherited from my parents ,which travelled with them when they immigrated 69 years ago. Great use for something that brings good memories. My dad was a tailor, so I think he would be proud of me to use it in such a useful fashion. The leftover bits will make several Christmas gifts for quilting friends! Thanks for the tute!🎄
Great way to up-cycle! Just remember that if you use steam, it can easily go through those 2 layers.
This is a brilliant idea! I have a small wool pressing mat that came in a sample box, and I love it. It is about 6″ x 9″ so it fits well on my pressing table, and it is about 1/2″ -3/4″ thick. (Thought maybe the thickness would be helpful for you to know.) I use this size more than the larger mat that I have, because it’s so easy to grab when I’m making small blocks.
Good use of the wool blanket.
Good thinking. For really flat seams, after you press on the blanket, move the fabric to your ironing board and press a tailor’s clapper over your seam till the heat leaves the fabric.. you can really see the difference
Awesome idea I would to buy a wool mat. But the price is too high for me. So I will be looking for a wool blanket I should have one here. Somewhere Thank you for that great idea!!
Sent from my Verizon, Samsung Galaxy smartphone Get Outlook for Android
________________________________
That will be a much better pressing surface. =) I love that Sparkle Jane will get one out of the scraps, too!
I have been collecting wool, and am not using it. I already have a mat. Would you like my scraps? I would love to send them to you if you would use them. Not sure how frequent I will be on wordpress with the holiday coming. Please be patient if I do not get right back to you.
That’s the prettiest wool pressing mat I have ever seen!
Great upcycle! Love that you “kept the scraps” and put them to work for you. Be sure to always use it on a heat resistant surface, never on your cutting table/mats. I keep my 8×8 wool mat on my ironing board for small blocks and am wishing for a larger one. Good info in the comments about getting a clapper. Made me think back to the lovely Nancy Zieman who always used a clapper after pressing.
That is the most attractive wool mat I’ve seen. I’ve wondered about trying that, as I’ve seen alot of mixed reviews on them and they are pricey, so I’ve been reluctant to buy one. I just might try making one now, too. Thanks for sharing!