Thrift Store Find

I enjoy thrift stores for many reasons, but, while I always check the fabric section, I rarely find anything that suits me.

But today…

WOW! I am so pleased: 14-1/2 yards for $1.60/yard.

Can’t beat that. I see a quilt kit, backs for a twin donation quilt and three baby quilts, and red dots (because a person can always use red dots). YAY!

Second Chance Quilt: Bits And Bobs Make A Quick Job (Christmas Table Topper)

Susan shared a few of her bits and bobs with me.

The blocks were already 6″, so I did all I could with the assorted half-square triangles and leftover scraps, adding a few other 6″ blocks that caught my eye.

Those strips of 2″ squares became the border.

And, ta-dah!, a cute Christmas table topper or wall hanging. It finished at 30″ square.

Don’t give up on those bits and bobs (or odds and ends, or leftovers). Sometimes they are most of a pretty good idea and just need a little nudge to turn into a quick finish. That is just the sort of thing we all need this time of the year.

NOTE: This post also featured in the Online Quilt Magazine.

Throw Of Squares

This quilt started as the leftovers of THIS quilt. When I decided to size down, the 16-patch blocks were already made.

Too much to throw away. Not quite enough for a complete quilt.

Adding the 4-patch blocks with borders brought it up to 48″ x 60″. A nice throw size.

And the backing is so much fun. It is planned as a gift for a classroom aide at school.

Second Chances Quilt: Fruit Loops

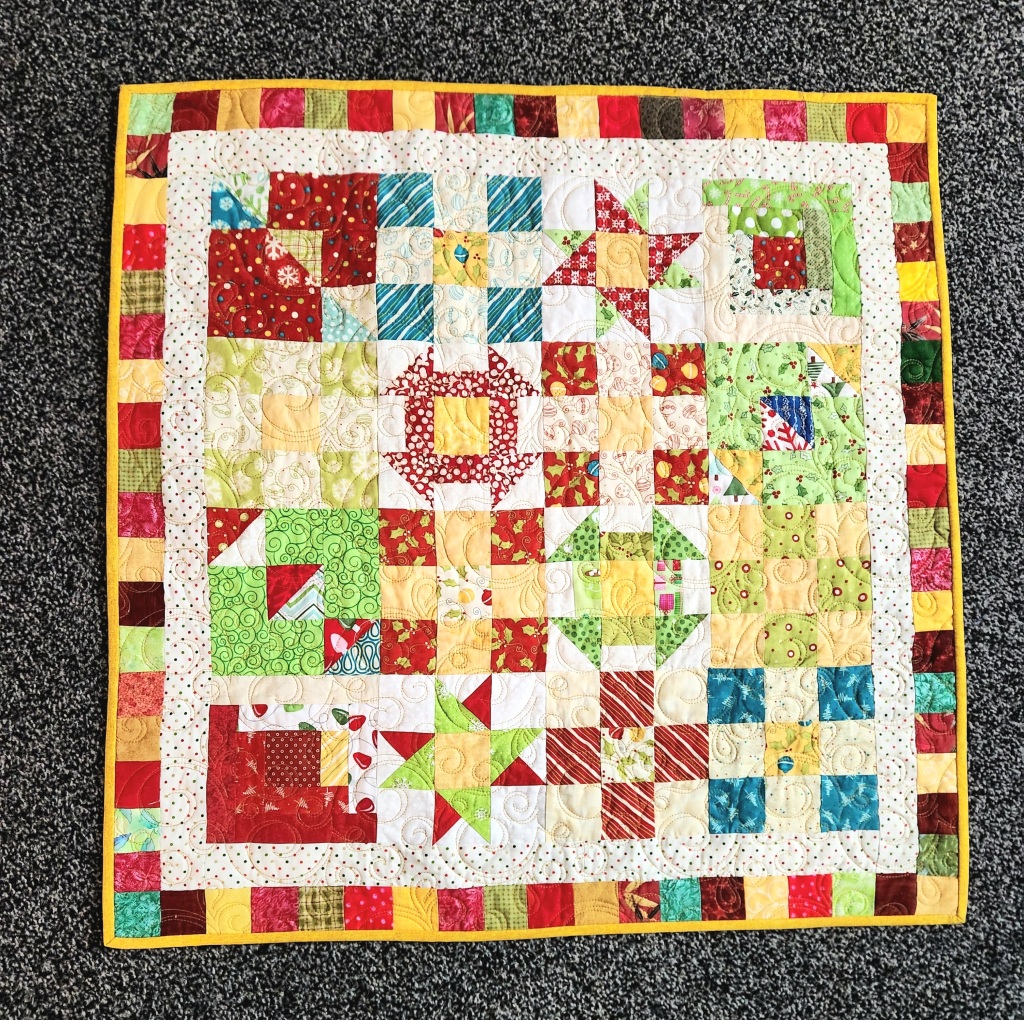
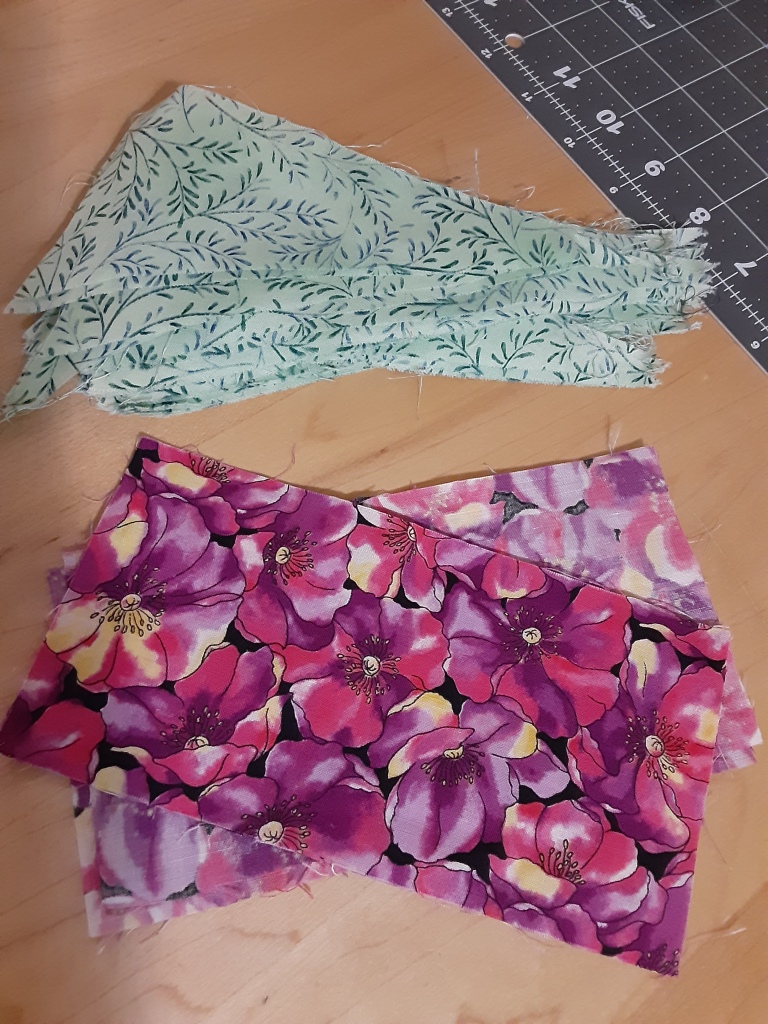
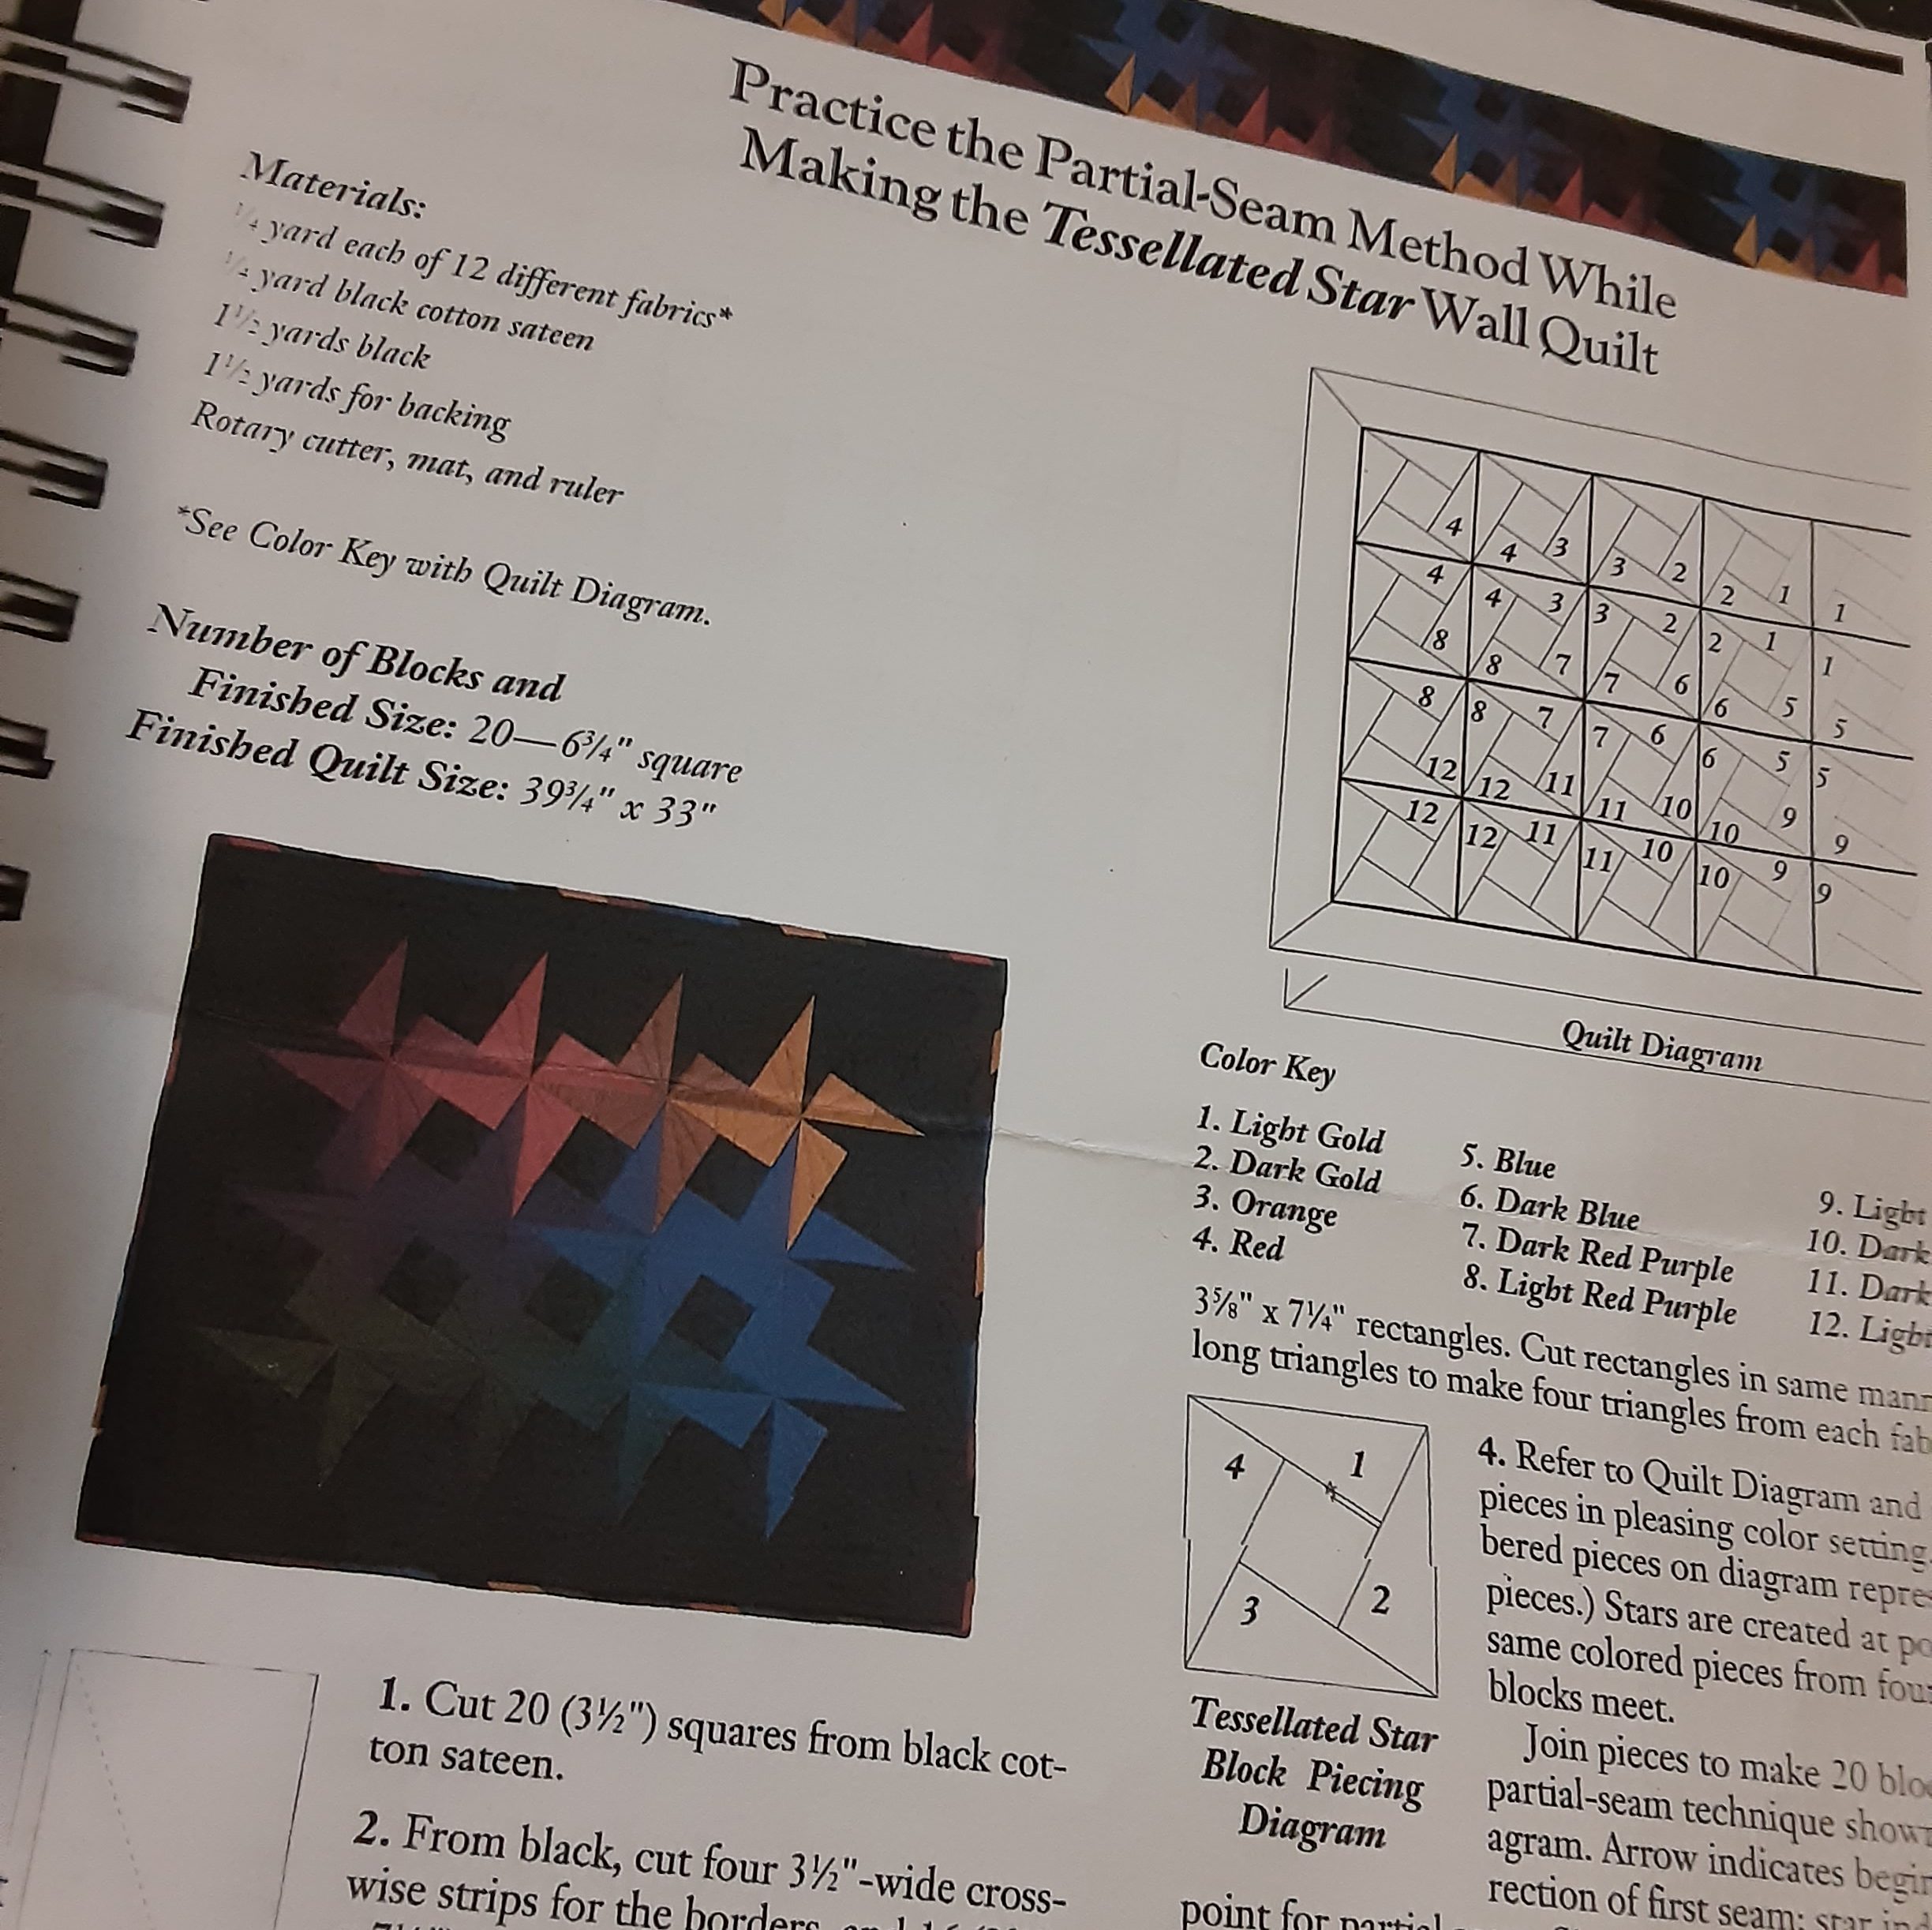
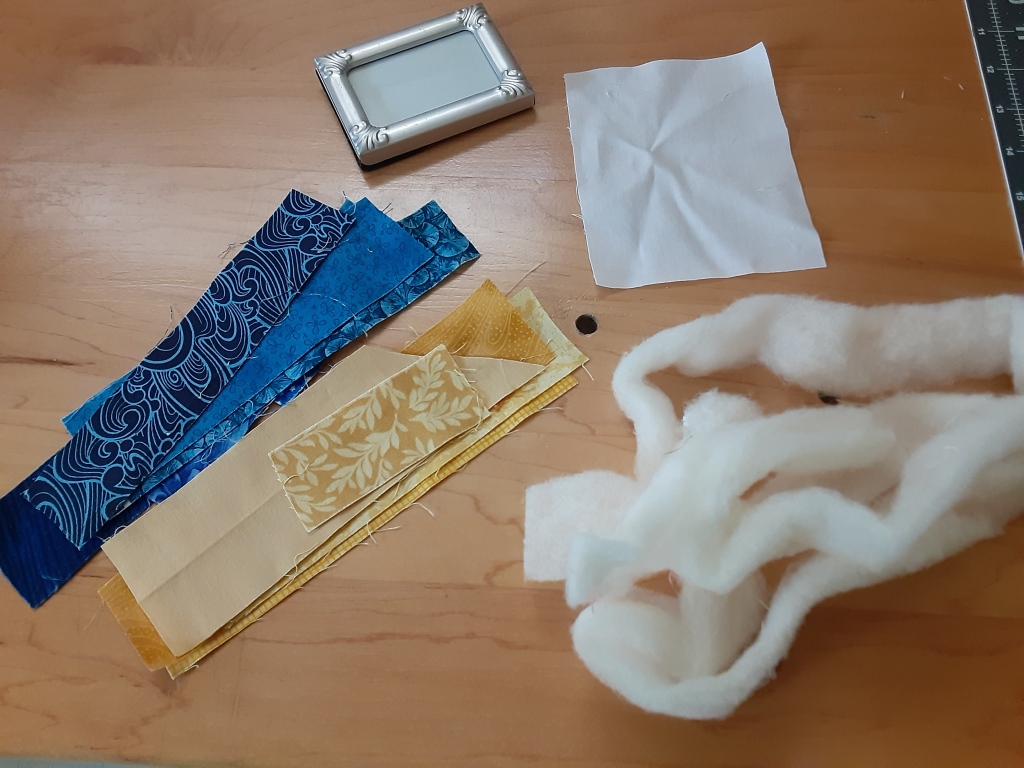
Diane sent me a Second Chances Quilt challenge. She had started this quilt and even cut much of the fabric.

Hmmmm…what to do? I didn’t want to build the tesselated star, but the fabric was already in triangles and rectangles.

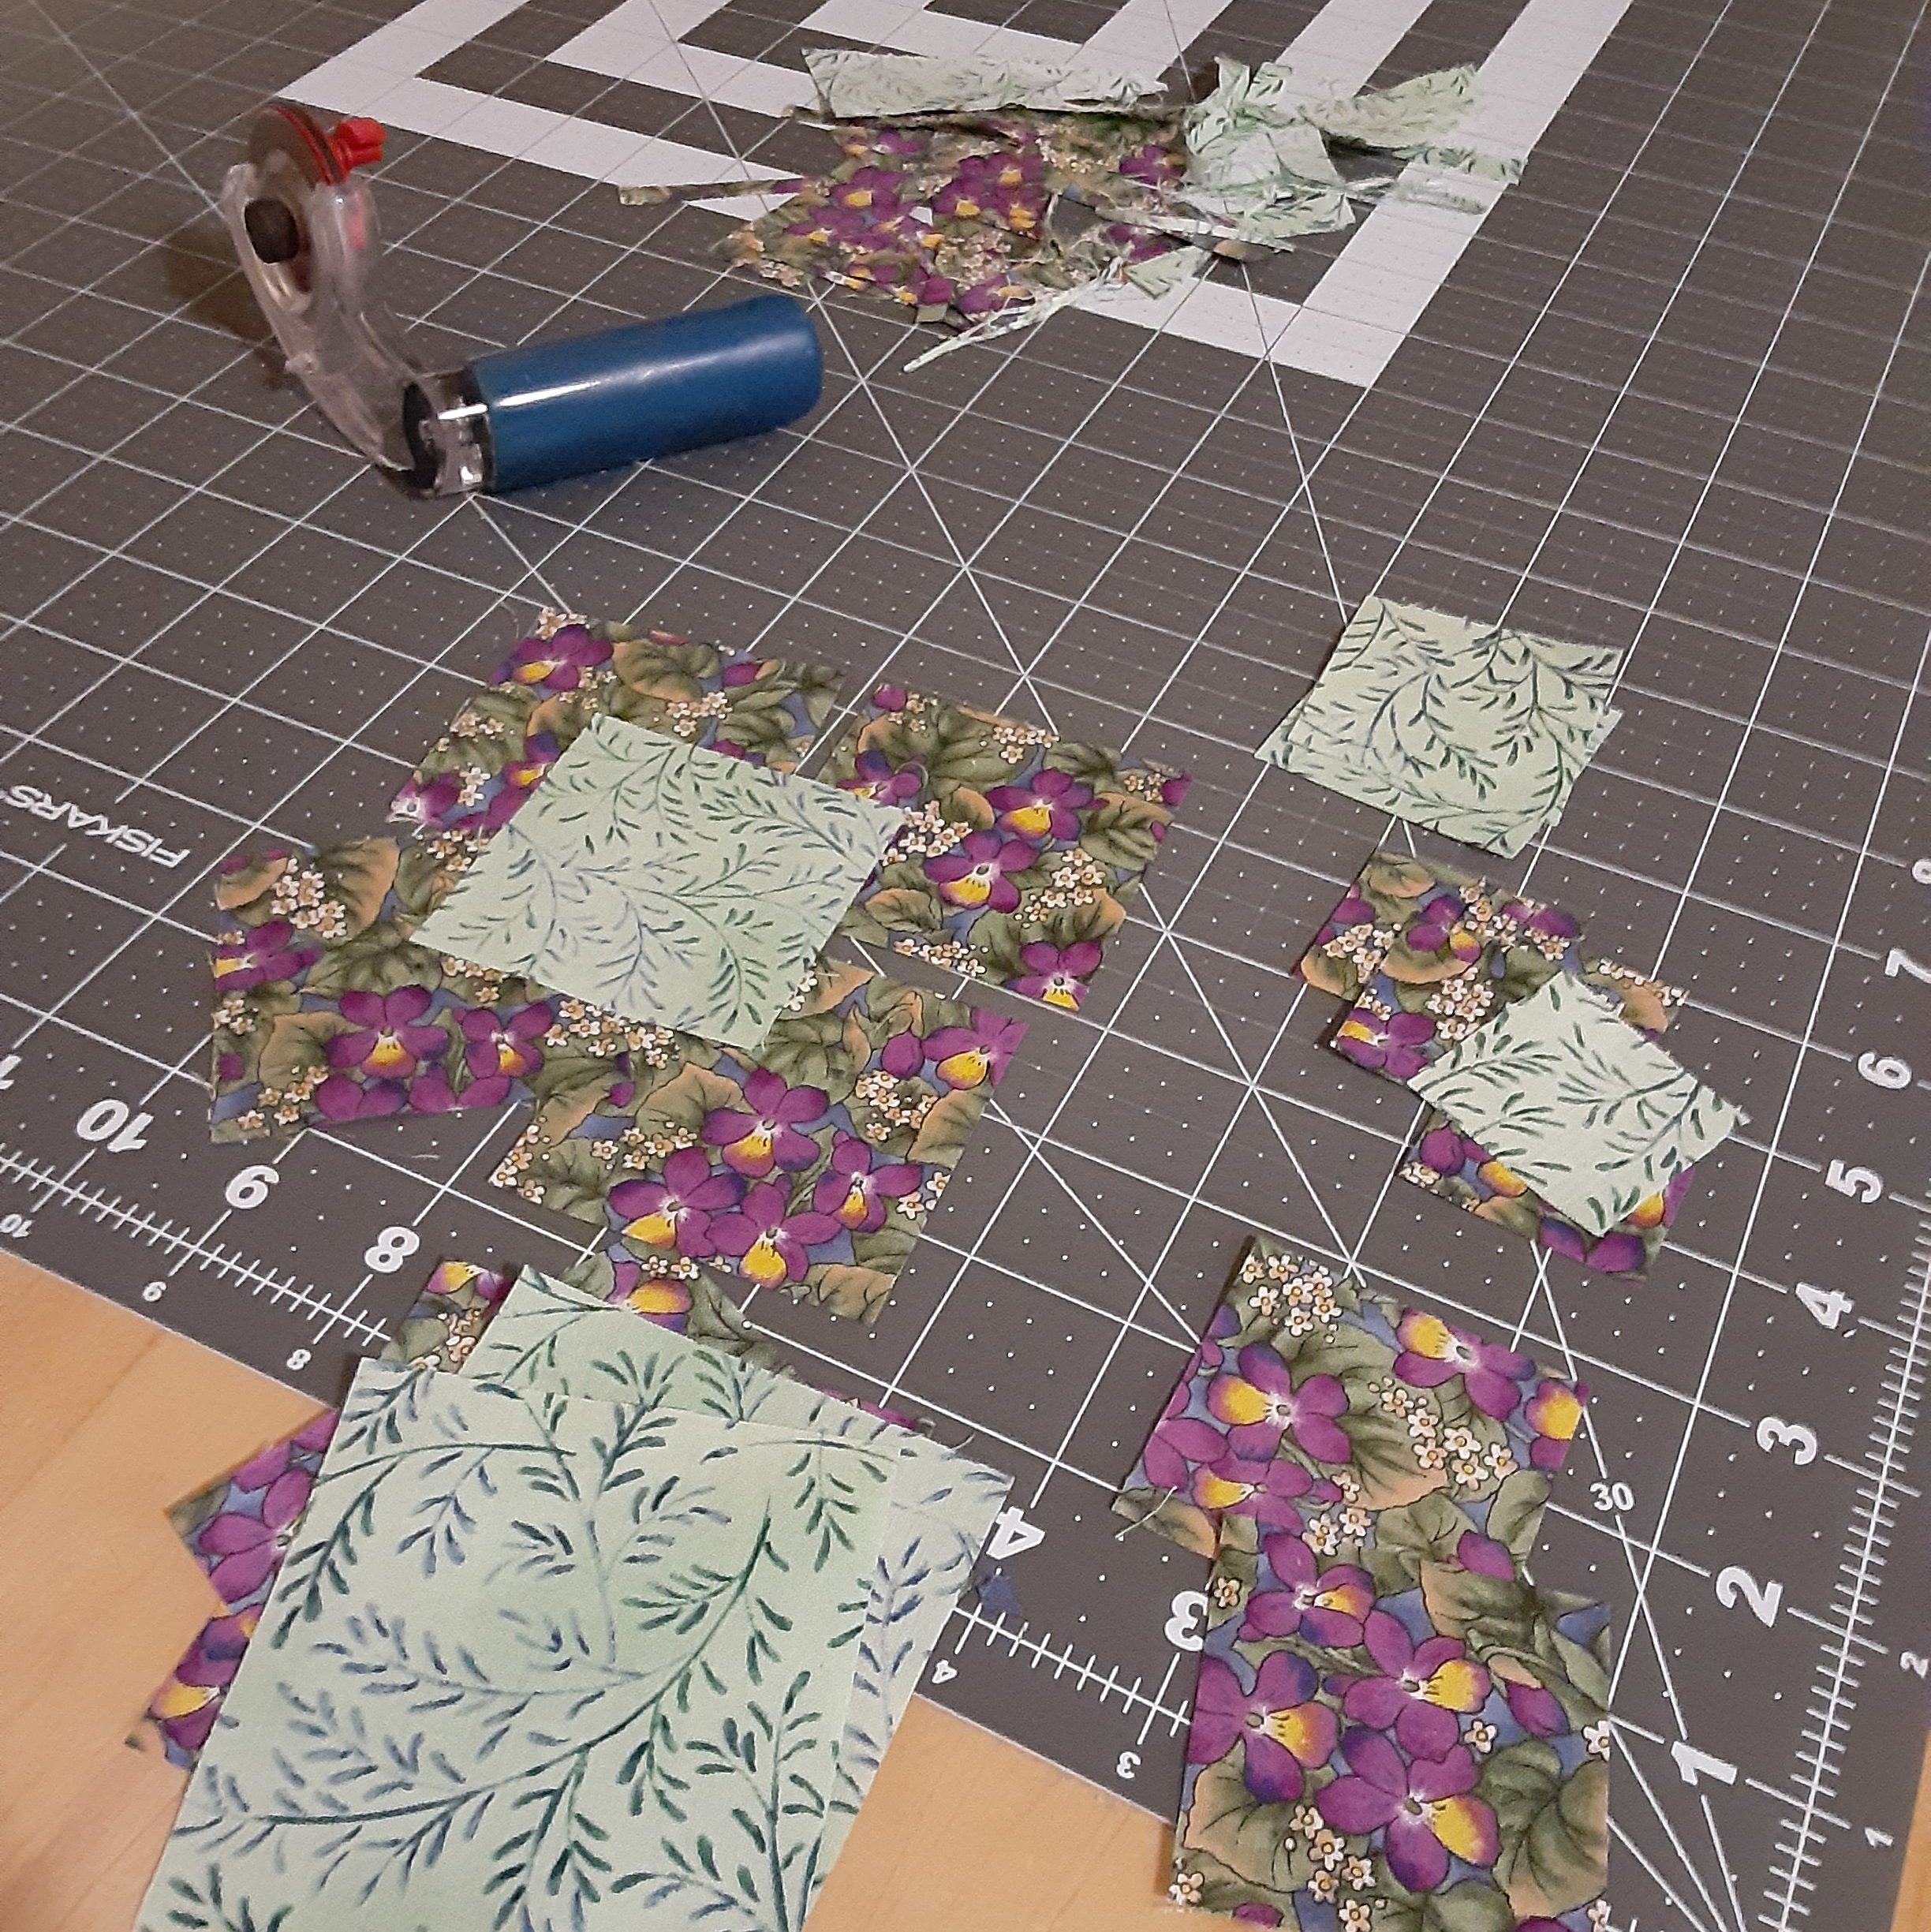
Sudden inspiration struck…the triangles could be saved. I could cut a 2″ square and a 1-1/2″ square from each one. Yes, there was some waste, but not as much waste as doing nothing with it at all.

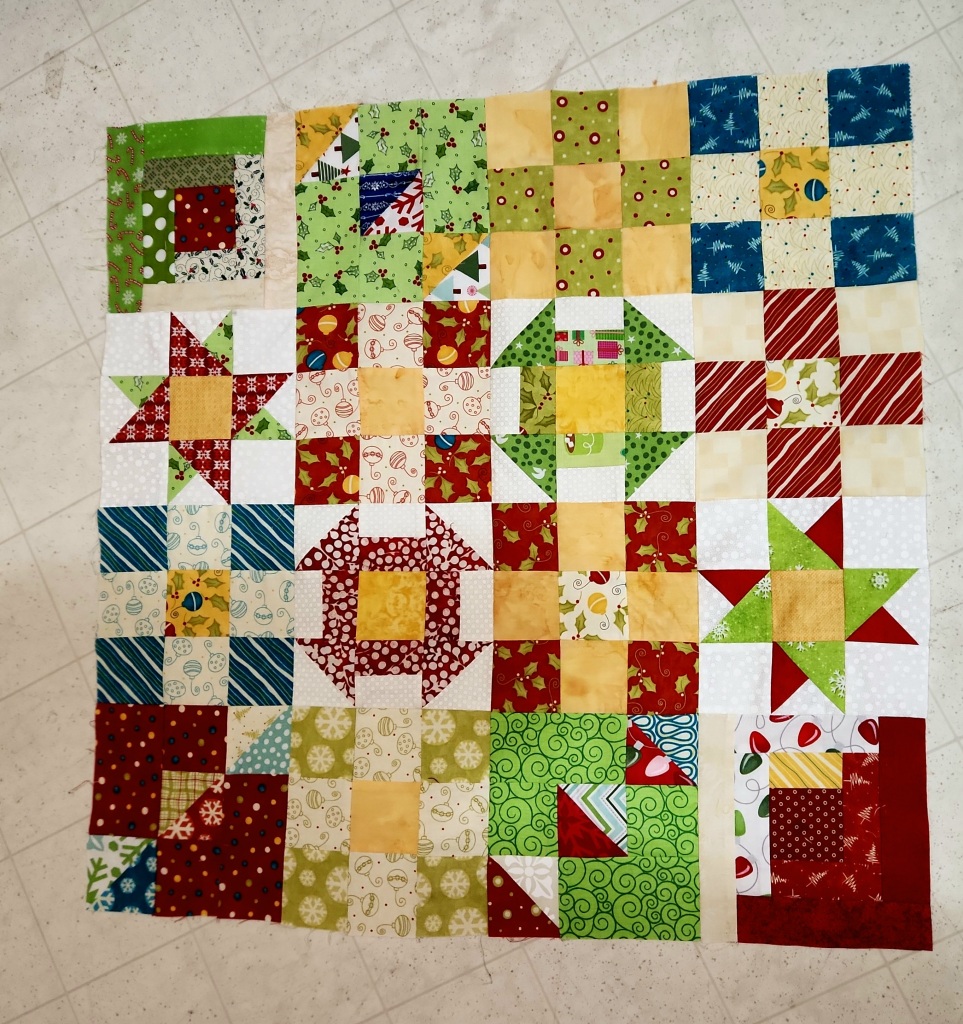
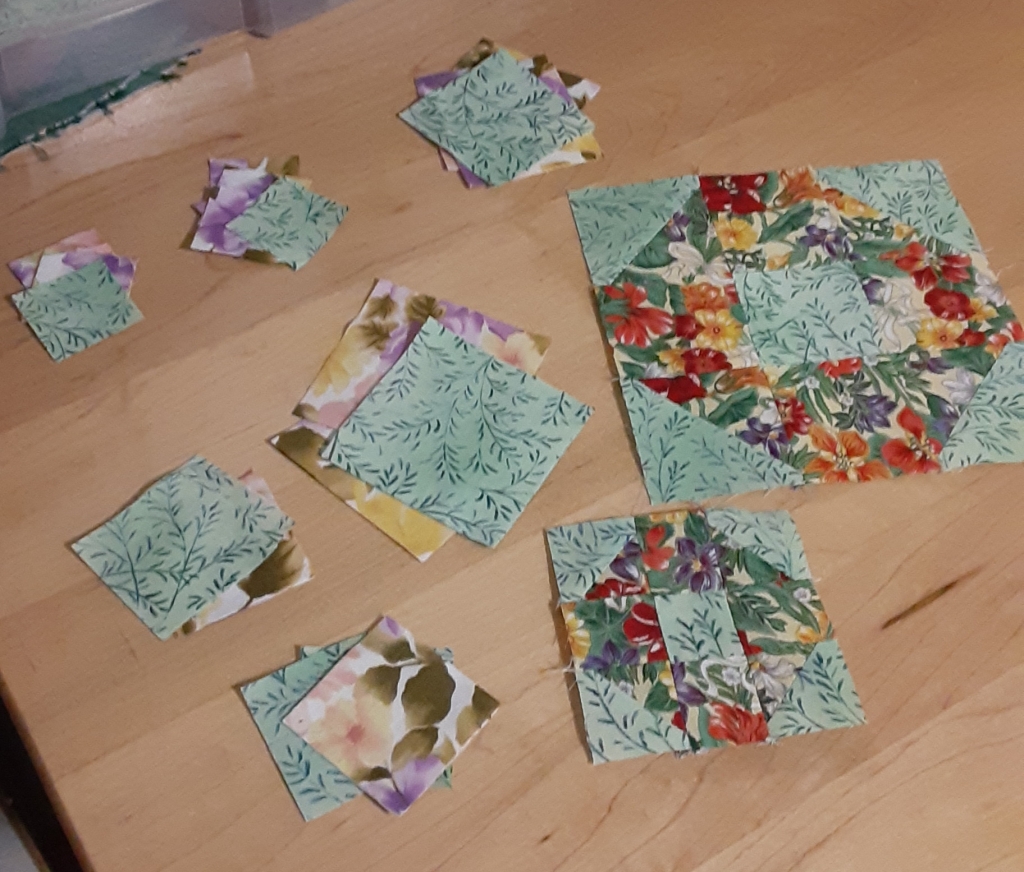
I decided to make snowball blocks in two sizes–6″ and 3″.

Each 6″ blocks uses 4 2-1/2″ colored squares and 2 3″ colored squares. Also, 1 2-1/2″ background square and 2 3″ background squares.

Each 3″ block uses 4 1-1/2″ colored squares and 2 2″ colored squares. Also, 1 1-1/2″ background square and 2 2″ background squares.

I can make a more complete tutorial in the future if needed. The finished size of this one is 36″ square.

It was fun to explore such a different look with a print background.

The final result brings a smile to my face. It has already been gifted to a coworker who needed a smile, too.

One Thing Leads To Another

The kitchen/dining chairs really needed new seats. My father built this set in the mid-1970s after one of their old chairs broke while my mother was standing on it to reach the top cabinet to get down the silver chest for a holiday dinner. She broke several ribs. He was very angry and broke the old rickety set to pieces and made one that WOULD NOT BREAK.

I was given the set when I moved out on my own. What a great gift!

It has been used and used. Four children and all their friends. Meals. School projects. Game nights. Teary conversations. Grandchildren.

The seats have been recovered a few times.

But the table top also needed help this time. It looked a little shabby next to the new, shiny seats.

And that started to reflect on the condition and decorating of the adjoining living room, so I started a new quilt.

Yep, that is how things happen sometimes.

Safe Haven Alternative Finish: Top Complete

At last! The blocks sat for a year, more or less, before I came back to them and pushed towards a finish.

And I am pleased with it. Yes, the picture isn’t great due to size and adverse weather conditions, but you get the idea.

Final size is 84″ x 96″. A useful size and reasonable shape. It will be a while before it is a true finish. I need backing fabric and quilting and binding, but, this is a complete top and I am glad of it!

Safe Haven Alternative Finish: Step Two

Another tentative step forward on an alternate setting for the blocks I have finished for the Safe Haven quilt kit.

I decided to add 1-1/2″ strip around each block.

Each block gets a different color, one that is contained in the block but not dominate on the side.

All of them are finished and it is time to contemplate Step Three. I am going back and forth between 2-1/2″ sashing in the light tan color that serves as a background in several of the blocks, a 1-1/2″ sashing of the same, and just sewing them all together. Your thoughts?

Picture Frame To Pincushion

This frame has been setting around for a while, wanting to become something.

So, I took all this.

And created this.

It can be used vertically, or…

horizontally, if you take the stand part off the back.

It isn’t difficult. Search “pincushion from a picture frame” and you will find all sorts of tutorials. This one will be a gift for a quilting friend.