
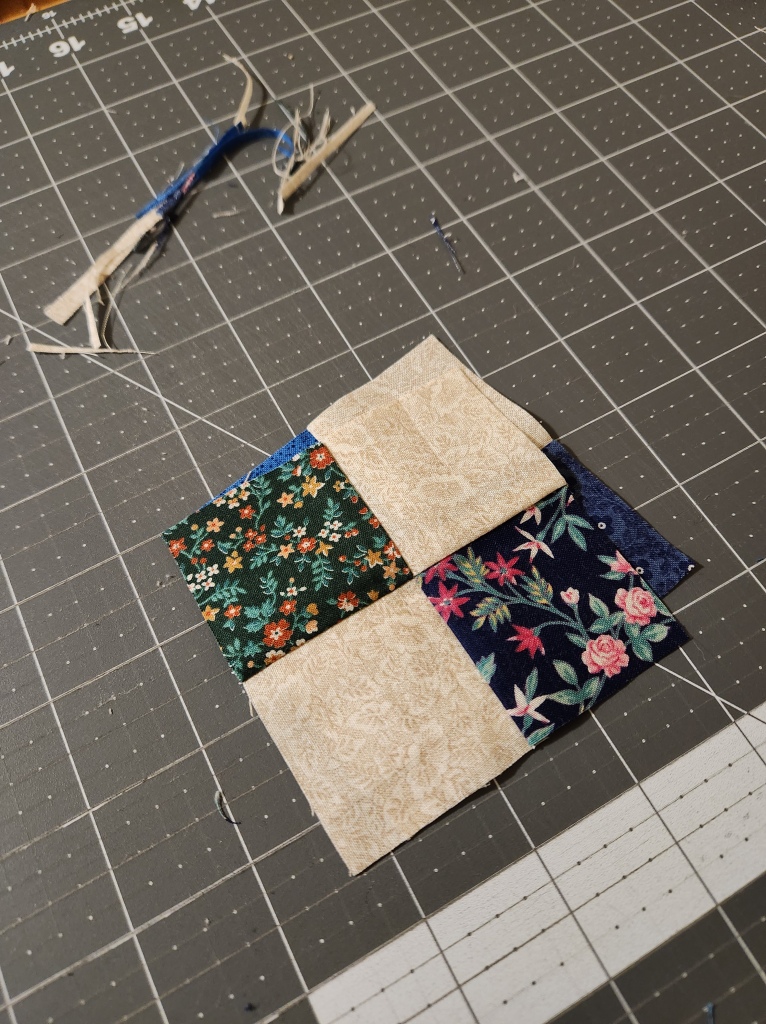
There were around 200 4-patch blocks, most alternating background/print, and some, what I would call, mixed patches. All came together in a box.
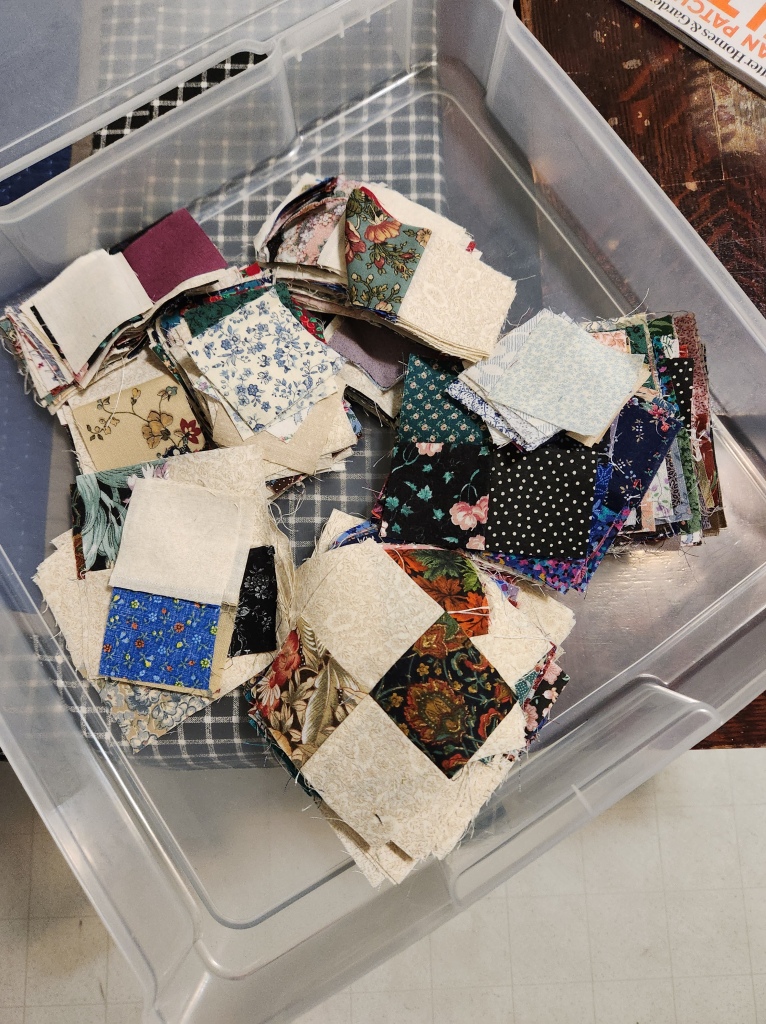
They had issues–mostly inconsistent seam allowance. And some people might have considered them dated.
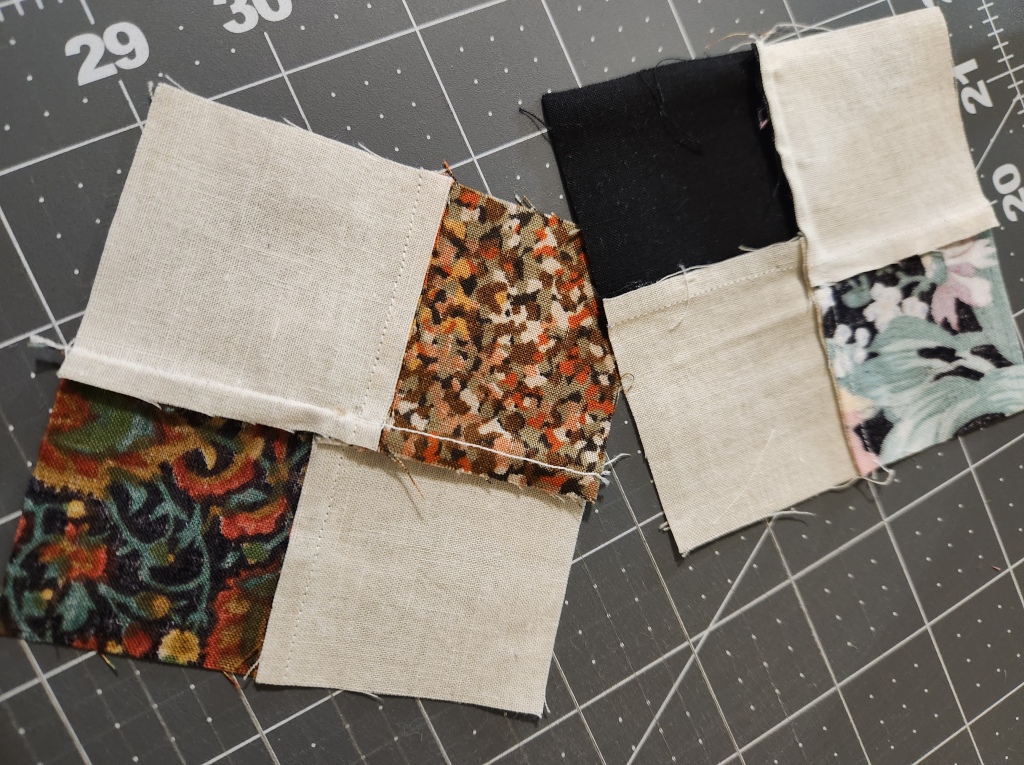
But there was something interesting about them. So, first things first–Square Up. I chose 3-1/2″.
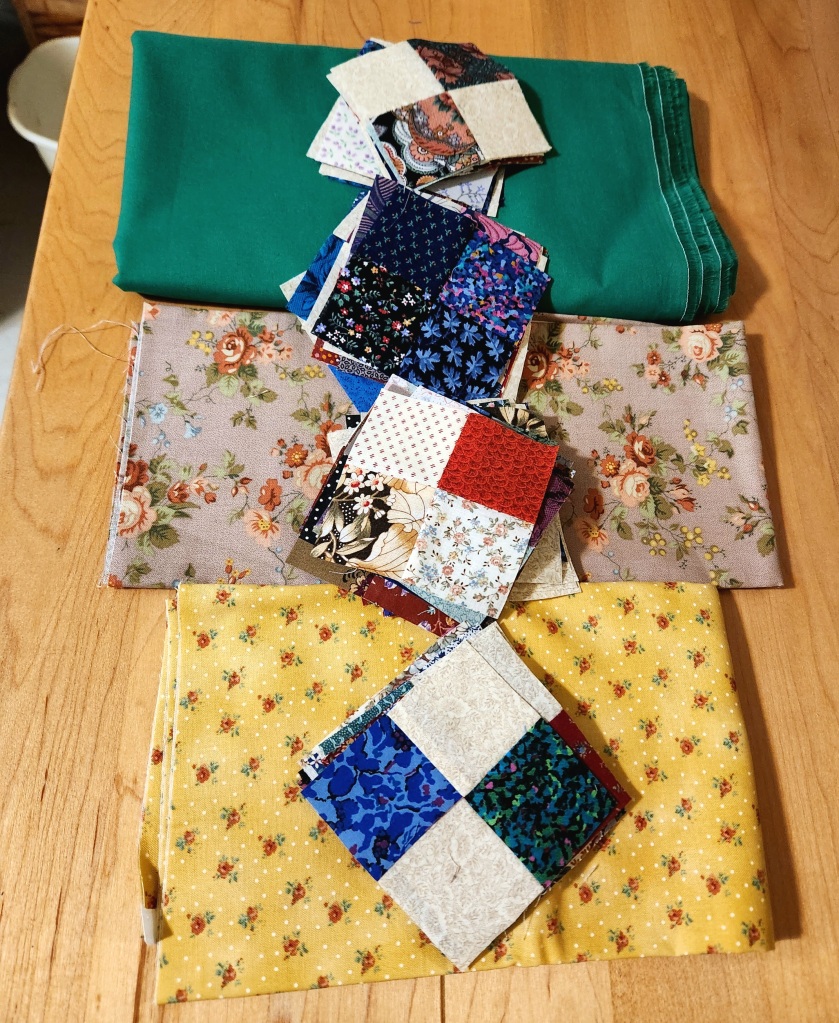
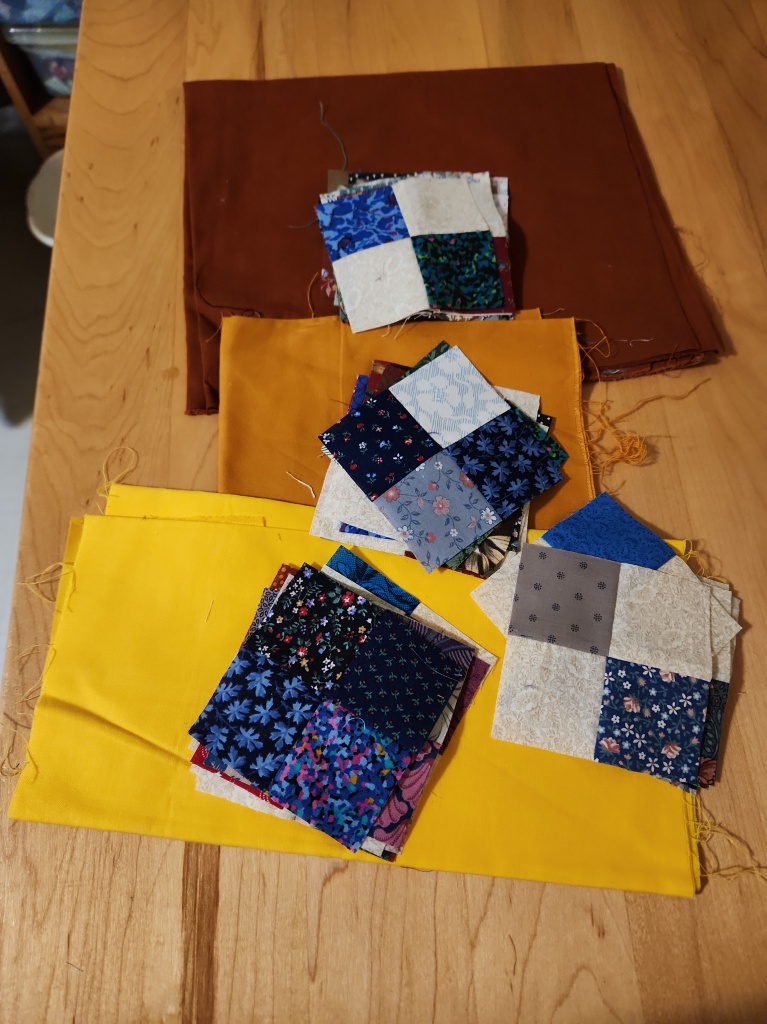
Alone they weren’t enough to make a sizable quilt, so I explored a number of different options for the alternating squares–too light, too dark, too dull, too print-y. None were quite right. Then, I remembered, when struggling with colors, there are a few that are almost always the right answer. They brighten, connect, and go with nearly everything. GOLD is one of them.
(PS–a good solid aqua/turquoise is another, but we’ll cover that another day).

Right away things started to look better. The layout I settled on was to set the blocks on point with the light/background squares always facing the same direction. This gives a sort of waterfall effect, creating stability and movement at the same time. The mixed patches are scattered throughout for extra interest.

The final top is approximately 59″ x 76″ and has a warm, welcoming feel. Much like fall.


MINI TUTORIAL (in case you want to make something similar from scratch:
MATERIALS:
2″ scrappy squares–around 800
background fabric–2-1/2 yards
binding–1/2 yard
backing–3-1/2 yards
DIRECTIONS:
- Create 192 4-patch blocks. They should measure 3-1/2″ square
- Cut the background fabric as follows: 165 3-1/2″ squares (alternating blocks), 13 5-1/2″ squares cut twice on diagonal (84 side setting triangles), 2 3″ squares cut once on diagonal (4 corner triangles), 7 3-1/2″ strips width of fabric (for border).
- Lay out the 4-patches on point in a pleasing arrangement 12 blocks wide and 16 blocks high.
- Add the 3-1/2″ background blocks, setting triangles and corner triangles.
- Assemble into strips along the diagonal lines, then join the strips together.
- Should measure approximately 53-1/2″ x 69-1/2″.
- Join the 3-1/2″ strips of background fabric together. Cut into two strips 3-1/2″ x 53-1/2″. Add these to the top and bottom of the quilt body. Cut the remaining into two strips 3-1/2″ x 76-1/2″. Add these to the left and right of the quilt body.
- Ta-dah! a quilt top!
- Layer, quilt and bind as you like.
- This is very much a MINI-tutorial. I am happy to answer any questions you may have.
This project originally appears in the Online Quilt Magazine, a great resource for your quilting needs.

That looks wonderful, great use of those old patches!!
What a bright and cheerful quilt! You have wonderful ideas in using scraps (blocks) that have been discarded by others. Thanks for sharing.
wish there was a LOVE button! The end result is lovely. Thanks for the mini tutorial. As I read, my mind was thinking I have so many scraps that would work with this layout. Have a great week!!
This is such a charming quilt! I would want to copy your use of gold, but I can see how using just about any solid or “near solid” background would work beautifully! This has a wonderful old-fashioned feel to it. Terrific! Thanks for the tutorial. I think I’ve found my next scrap quilt!
Your quilt is beautiful! Gold/yellow does brighten everything up. I have plenty of 4 patch blocks around here in multiple sizes, just need to work another scrappy quilt into the rotation. Happy stitching!
Beautiful quilt! Thanks for sharing
So cheerful. It’s very hard for me to dislike a scrappy quilt.
Stunning! And just the thing for my enormous tub ‘o scraps!
Love how the gold/yellow harmonizes the colours. Well done.