
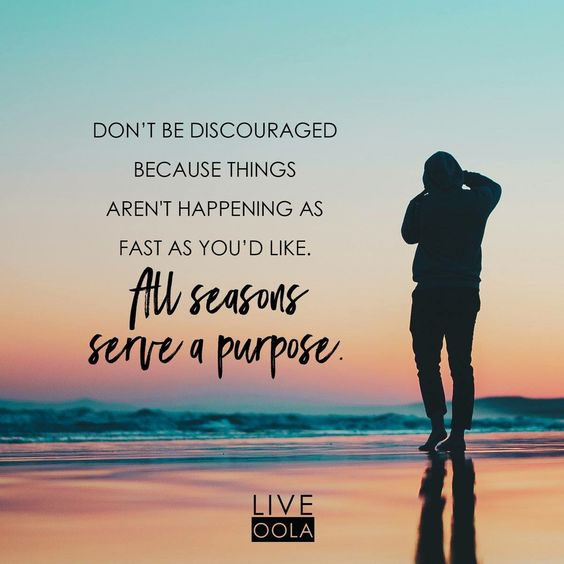
More good thoughts HERE.

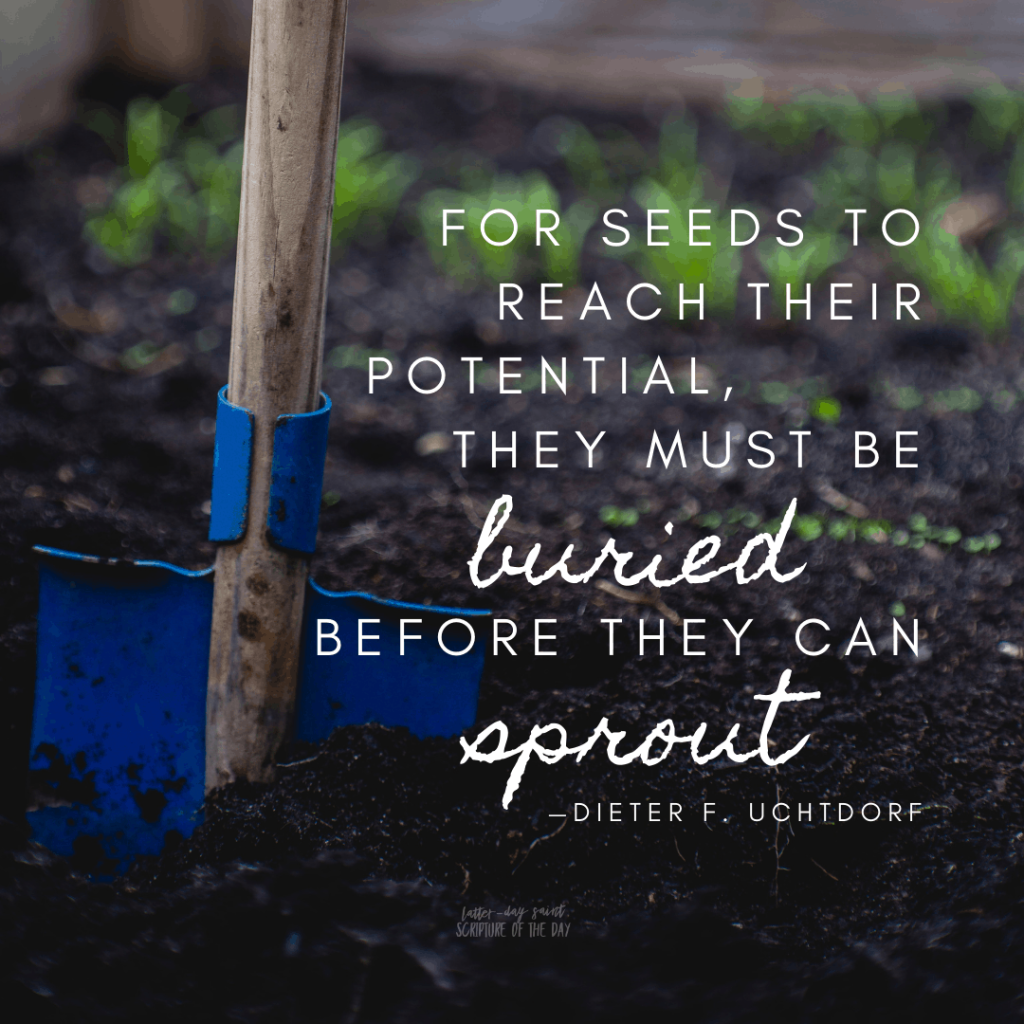
More good thoughts HERE.
Friend Cheri shares her leftovers with me from time to time. It is always exciting to get a new bag of possibilities.


Sort and straighten and ask, “What do you want to be?”

Somehow, I was seeing stars. And that gave me a place to start.


I added a few fabric scraps from stash and adjusted as I went along. I don’t know how I would write a pattern, or even a tutorial for something like this. It is an interesting process, though. A discovery every step of the way.


And the, Ta-dah! A quilt!

Finished size is 33″ x 38″. It has been gifted to a co-worked expecting a baby girl soon.
When I first had the idea to create a Film at Five quilt based on 1-1/2″ squares, it seemed so innocent.

At this point, using it as mostly a leader-ender, there are 100 25-patches for the centers and 220 sashing strips for between the blocks. Yep, 4040 pieces later, and there is still a long way to go.
Ah, well, quilting requires not so much patience as persistence. After all, the longest seam stitched so far is only 5-1/2″. Mere seconds. You just have to be willing to do it a few thousand times.
It shall be finished, but not for a while. Perhaps sometime during the summer.
You know by now how these things get started: someone gives me something. In this case, as part of a larger bundle of possibilities, there were three matching 6-1/2″ applique hearts. Much too cute to trash. I did consider pot holders, or a table runner, or a banner. But what they wanted to be was a baby quilt.


I had a little bundle of fat eights that “happened” to match perfectly. I love it when that happens. All that was needed was some background fabric and something to make centers for 6-1/2″ star blocks. I really wanted to make the centers as 4-patches using the bundle fabric, but there just wasn’t enough.

The strips of fabric are cut at 2″. Four of them create a 6-1/2″ block of color. This would have been much easier with straight cut quarter yards, but with enough fabric-stretching, the fat eights just made it.

There is a small background piece between (1″ finished), 3″ and a border around.


It is such a cheerful quilt, bringing joy to the heart. And it all started with just a few hearts!
This is another of the charity quilt kits Sparkle Jane and I created several years ago. One of my goals this year is to get them all put together and delivered to people who can use them.
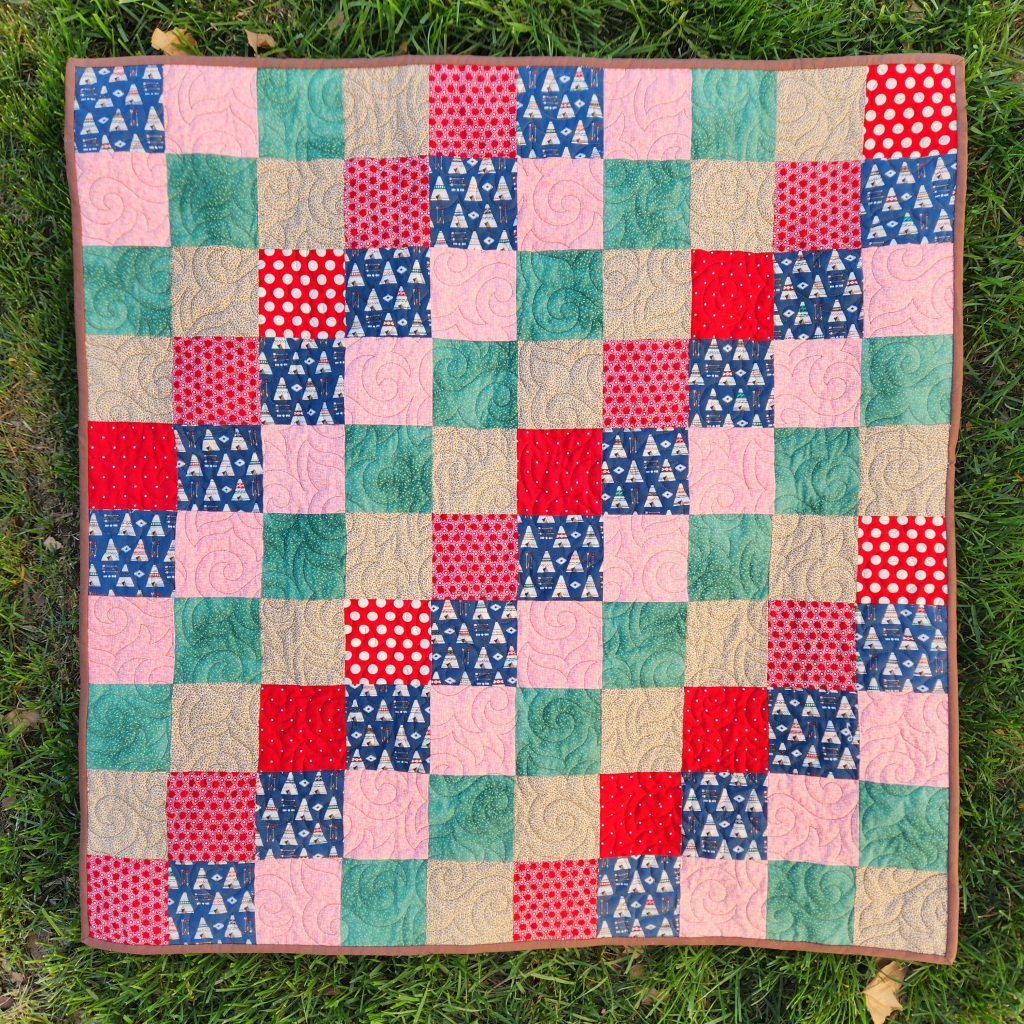
The colors scheme came from the tipi print–too cute! Some colors are all the same, and some are mixed scraps. Works for me!

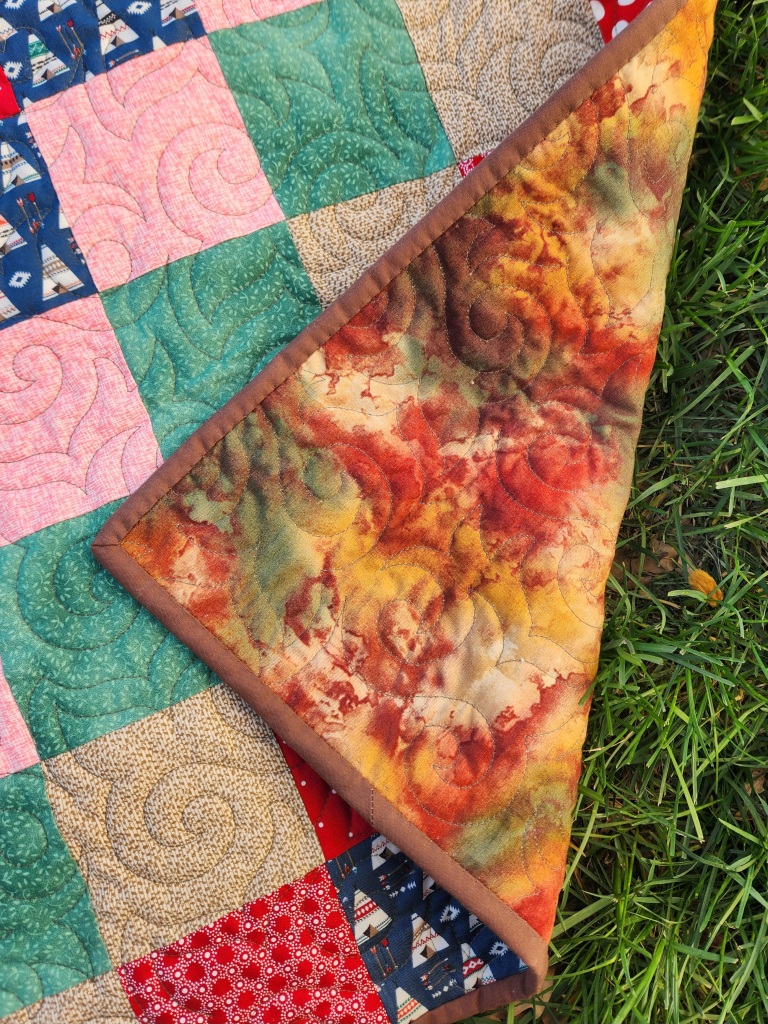
There is nothing wrong with simple quilts. They have their own appeal.

I KNOW I saw a tutorial for this, but now I can’t find it. If you know of it, please tell me and I will update the post.

So, the point is that I had this pile of novelty fabric squares that needed a job. An Eye Spy quilt is the obvious solution, but I felt that there was something more possible.

I love the way this turned out. I had yardage of this interesting green, and it seems to highlight without overwhelming. (More of it will be featured in another upcoming quilt.) If you squint, you might recognize that the squares are laid out (mostly) alternating dark and light squares. It adds another layer of interest.

It is definitely an Eye Spy +. Plush “sashing”, plus diamonds, plus color arrangement…The quilt finishes at 45″ square. And there is so much to look at!
