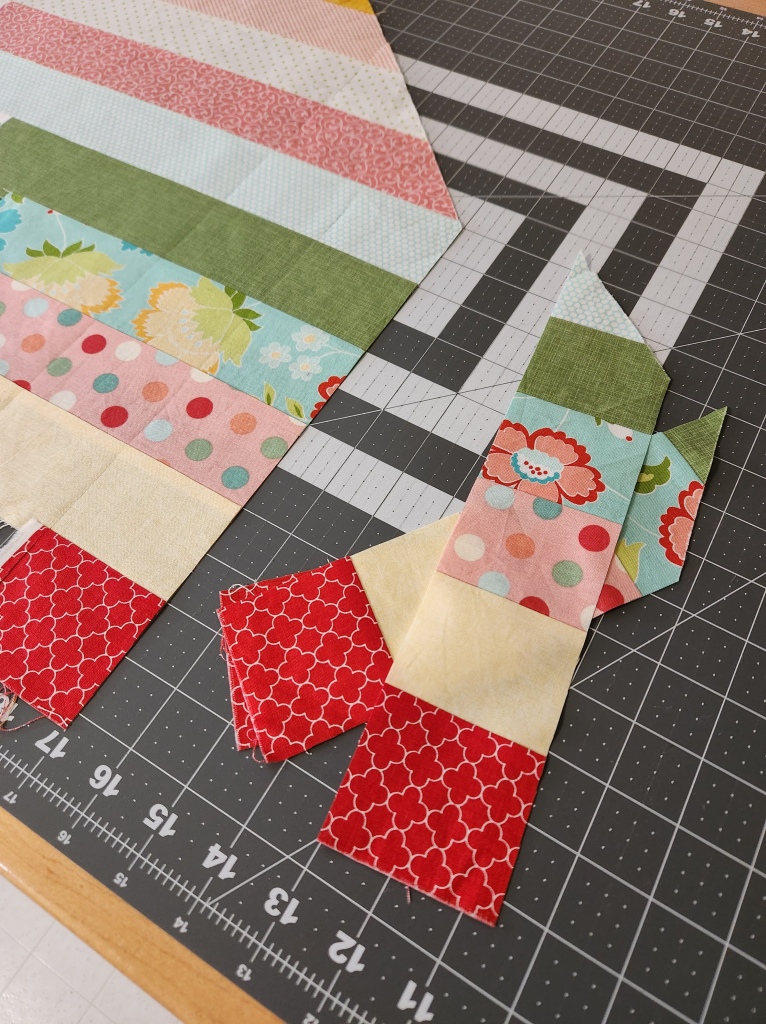
When I first had the idea to create a Film at Five quilt based on 1-1/2″ squares, it seemed so innocent.
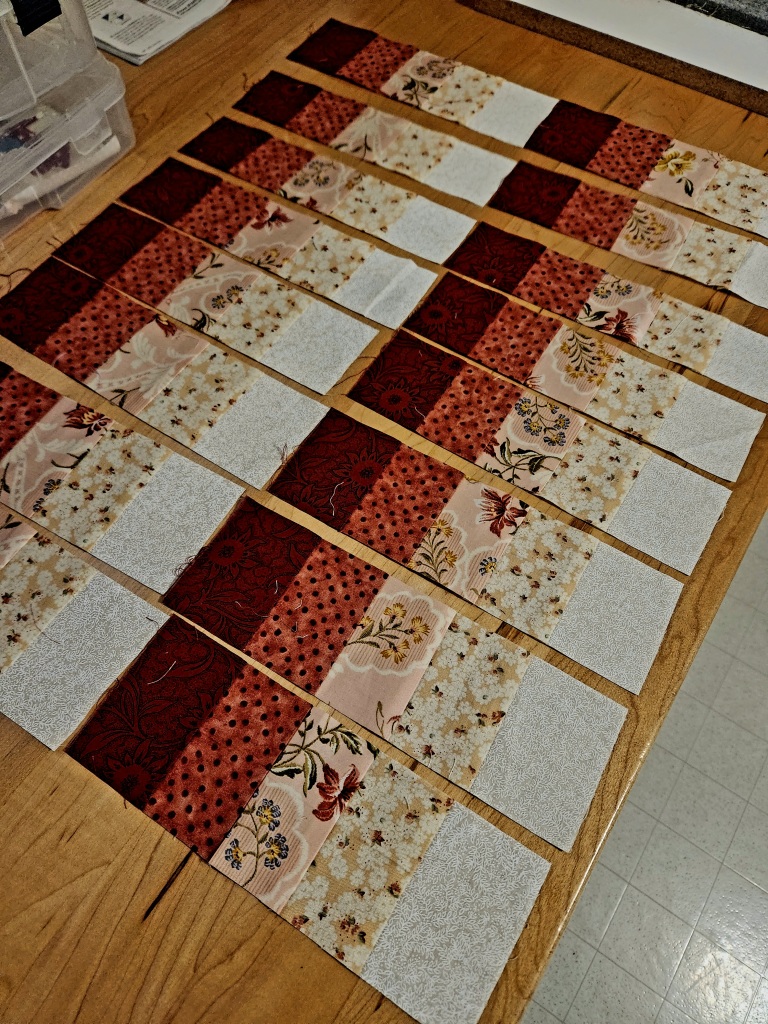
At this point, using it as mostly a leader-ender, there are 100 25-patches for the centers and 220 sashing strips for between the blocks. Yep, 4040 pieces later, and there is still a long way to go.
Ah, well, quilting requires not so much patience as persistence. After all, the longest seam stitched so far is only 5-1/2″. Mere seconds. You just have to be willing to do it a few thousand times.
It shall be finished, but not for a while. Perhaps sometime during the summer.
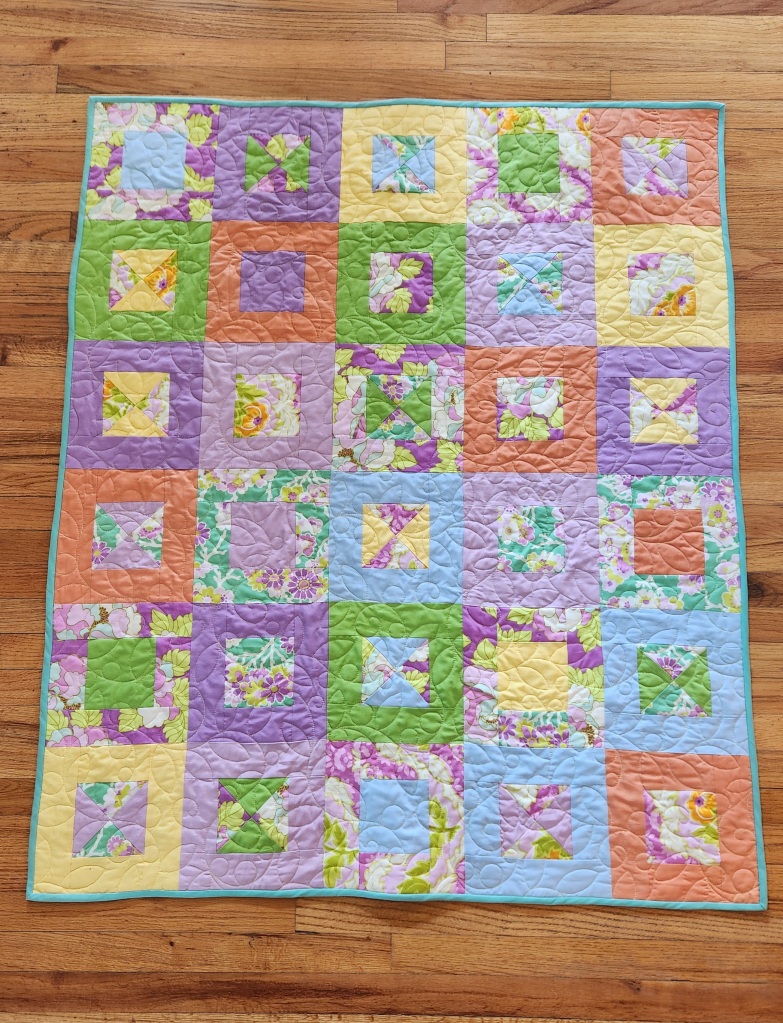
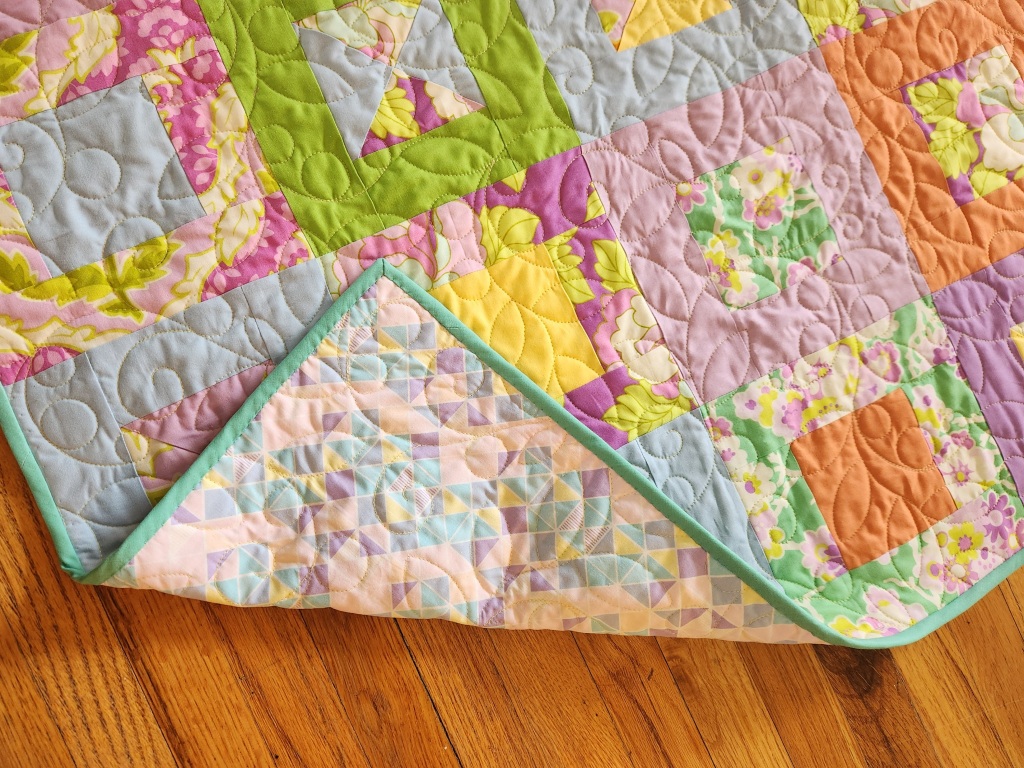
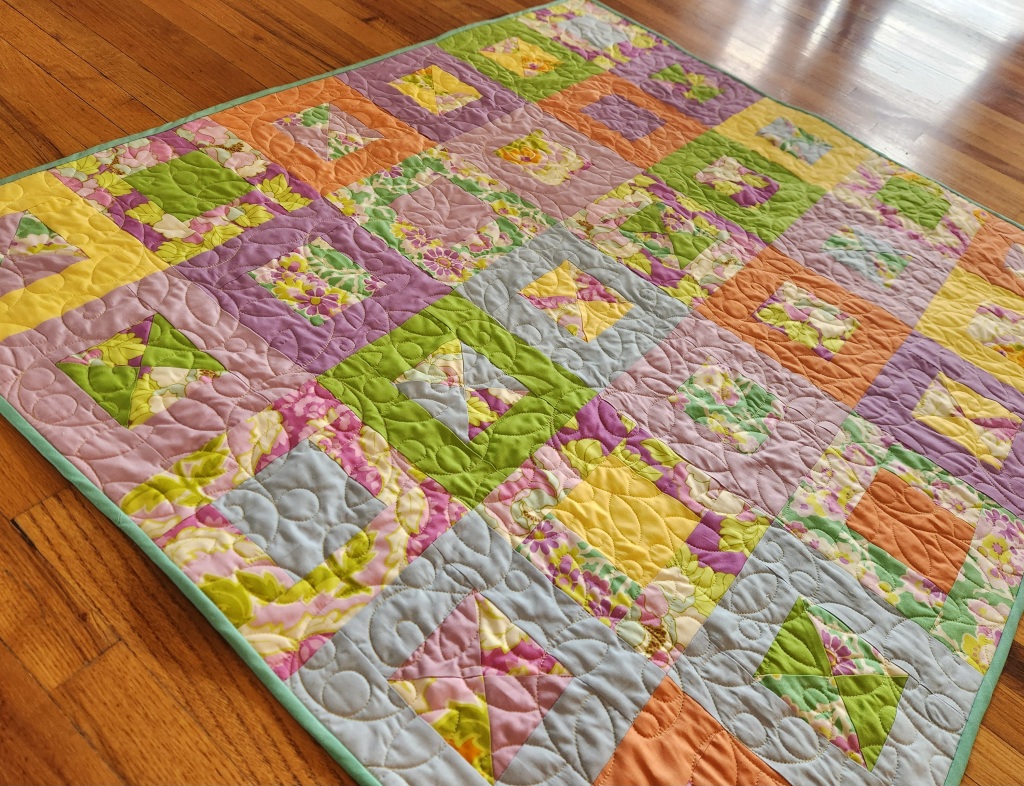
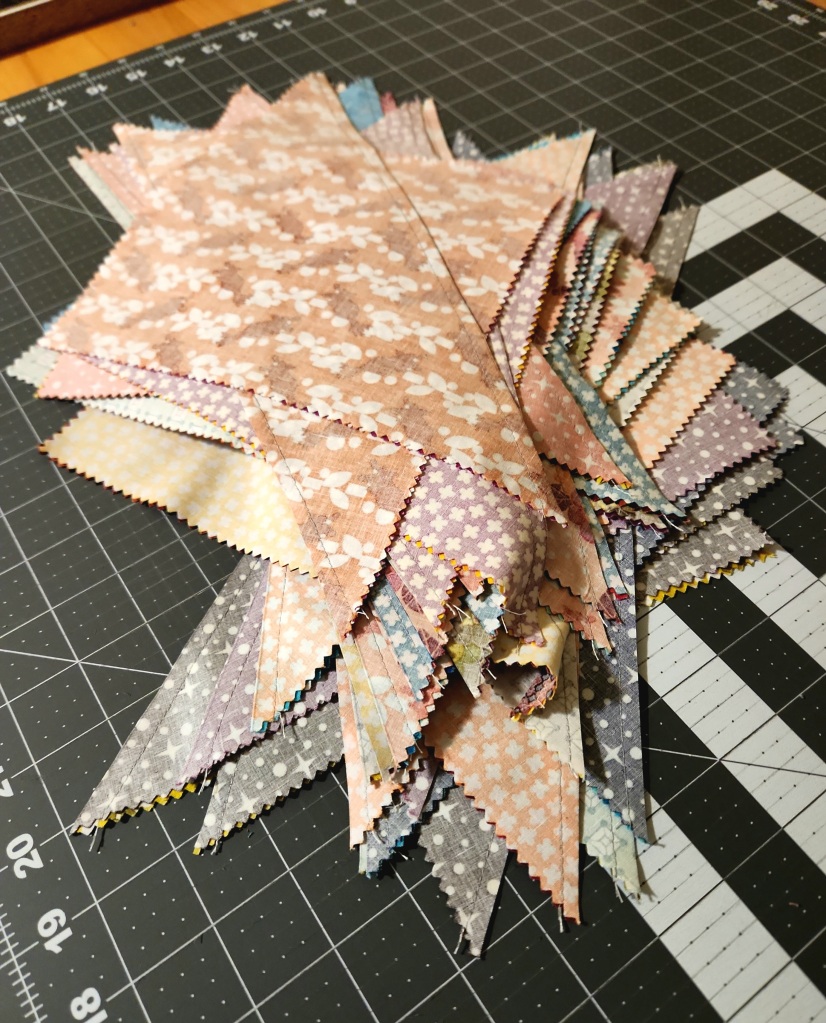
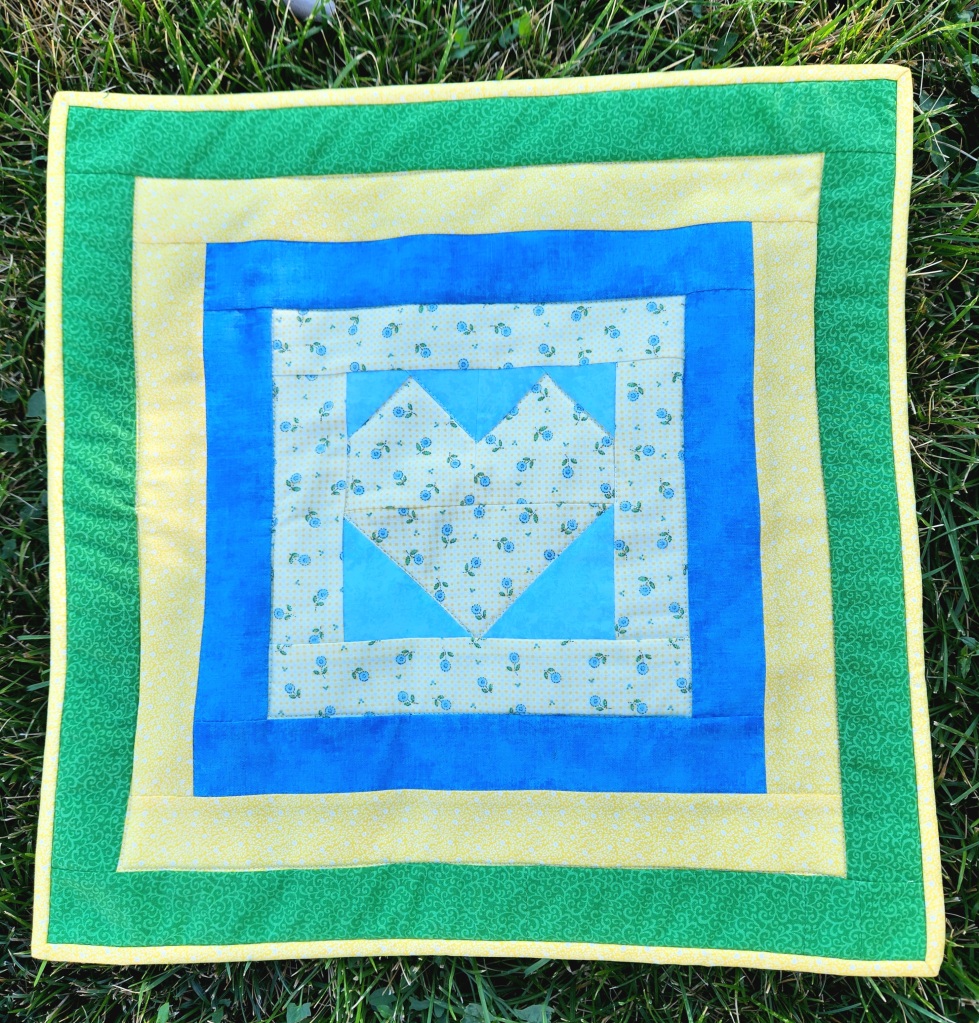
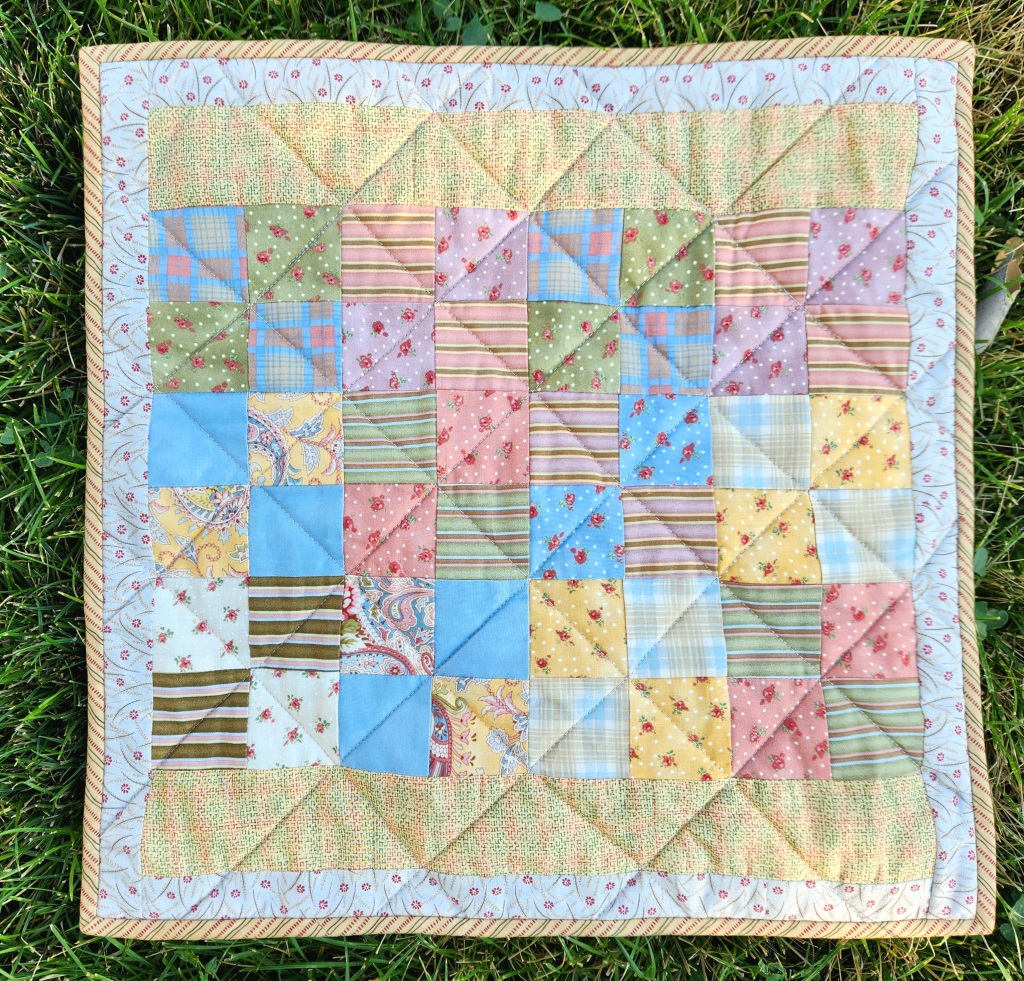
This quilt started as an experiment with fat quarters. I had seen a few similar quilts and wanted to give it a try.
This version uses 9 fat quarters. Three prints and 6 solids. The quilt finishes at 40″ x 48″. Each block has a center cut at 4-1/2″ x 4-1/2″, some plain squares, and some created as hourglass blocks made of two squares starting at 5-1/2″ x 5-1/2″. The outside of the blocks is two rectangles 2-1/2″ x 4-1/2″ and two rectangles 2-1/2″ x 8-1/2″.
It went together quickly and is finished and delivered to a neighbor as a spring surprise. She seemed very pleased.
I acknowledge that the instructions aren’t a lot to go by. Feel free to ask questions. Enjoy!
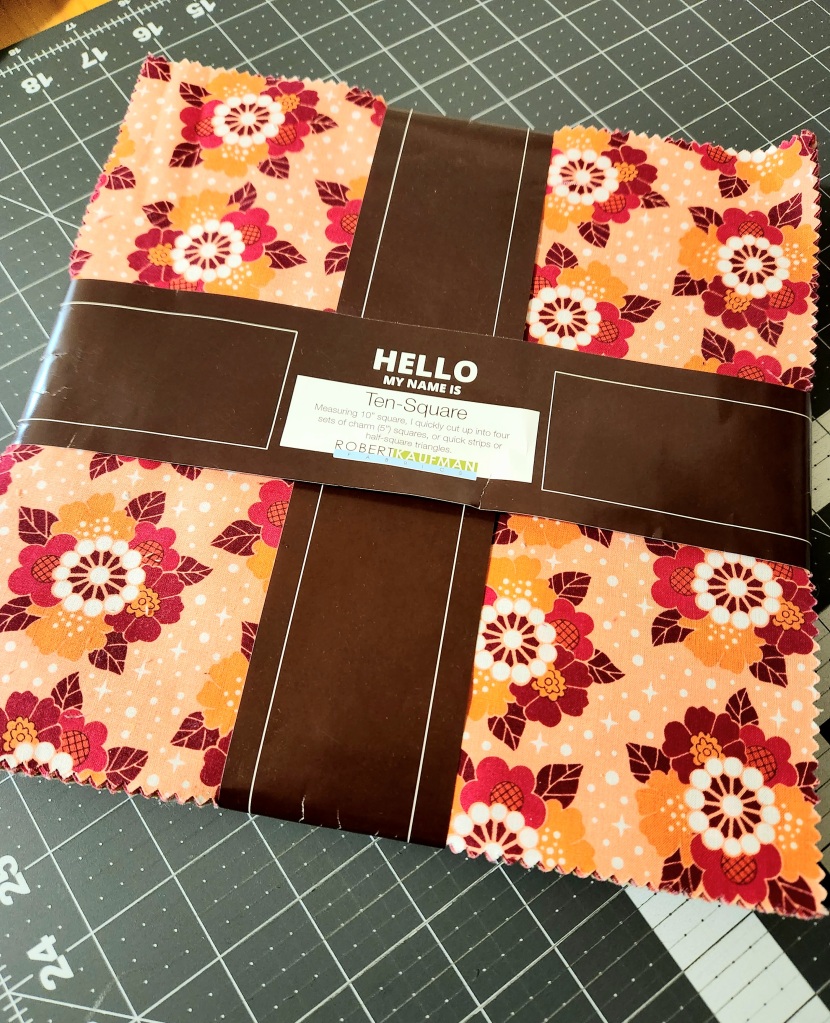
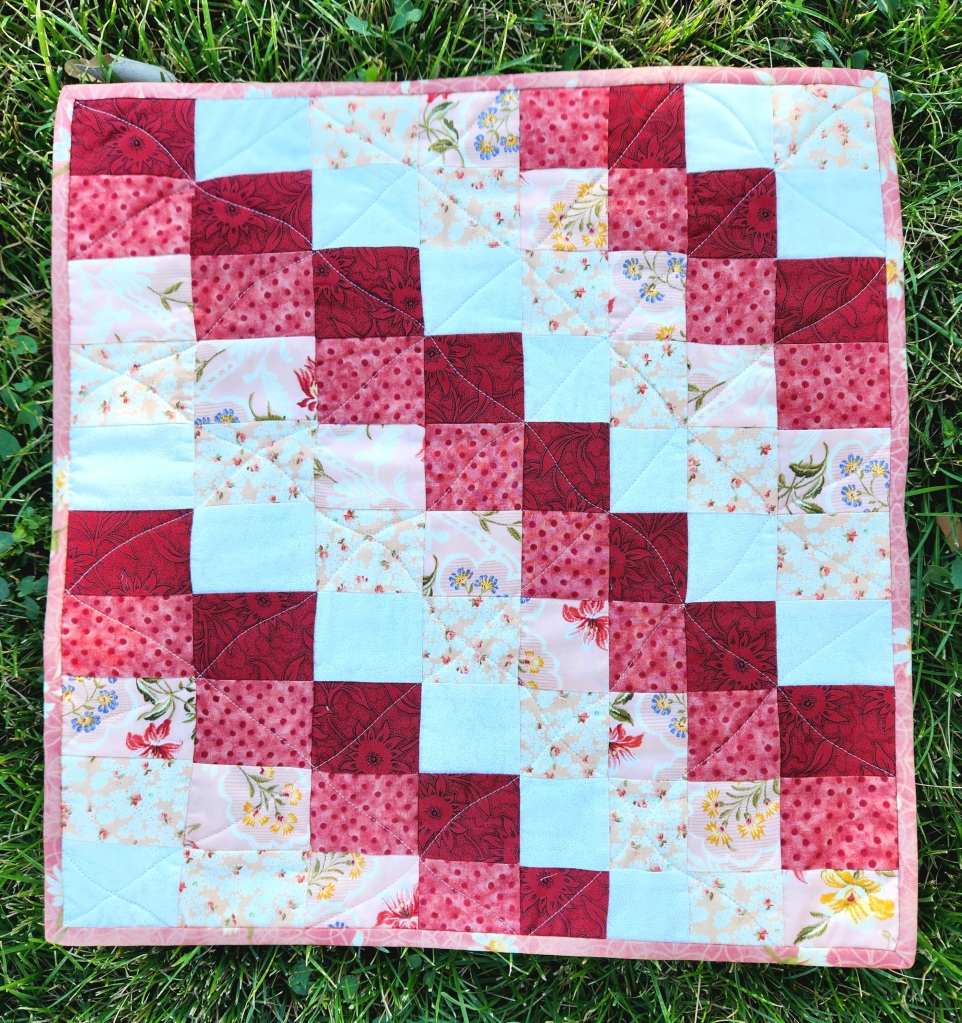
Precuts are often a struggle for me. I like the concept, and I know there are a lot of patterns out there, but opening them up and getting started is the hardest step.
If you have a layer cake looking for an idea, here it is.
This is a make-in-a-day quilt, and a nice size (54″ x 63″), and a fun look.
The minkee on the back just makes it even more of a snuggle. I am so pleased with how it turned out. And I have another layer cake waiting in the wings for its chance. YAY!
It started as a block. A LARGE block–25″. It was beautiful, and someone worked very hard on it. And abandoned it. And it was lonely.
What to do…
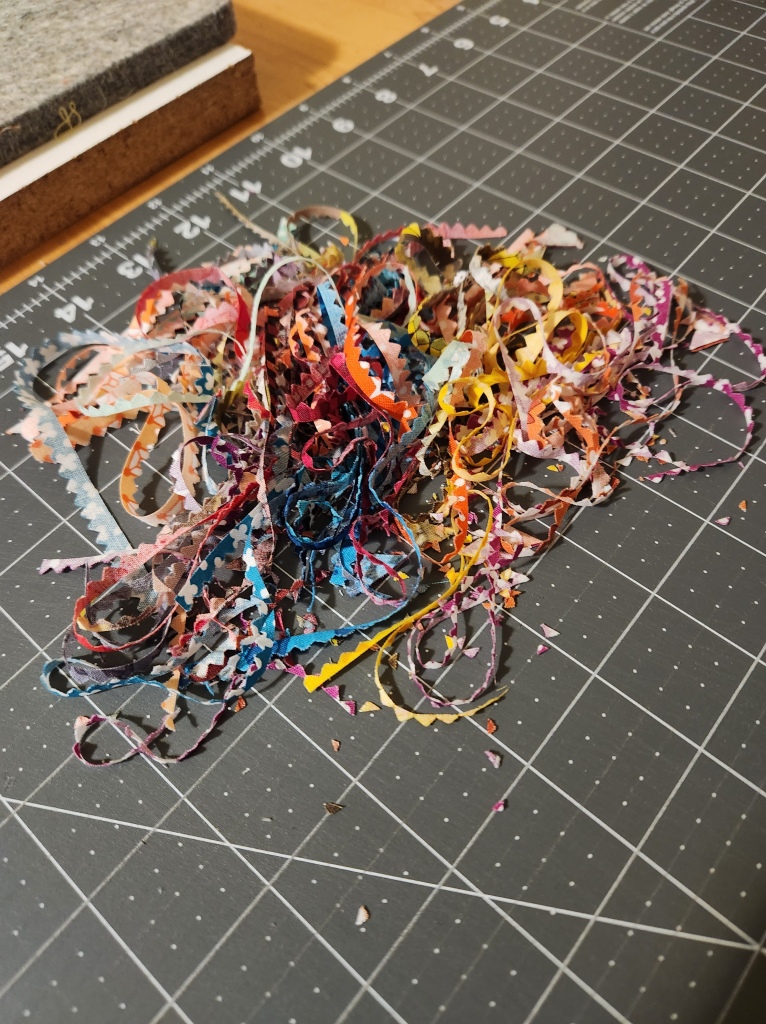
Well, I also “happened” to have (if you believe in coincidence) these leftovers someone shared with me. The colors worked. The strips weren’t very big and about 3/4″ across, finished. I cut them into 2″ wide sections and pieced those together.
Also, found this lovely yellow in my stash with just the right print on it. I love being lucky, don’t you?!
Around and around until there were 4 2″ (cut, 1-1/2″ finished) borders and it was about 37″ square.
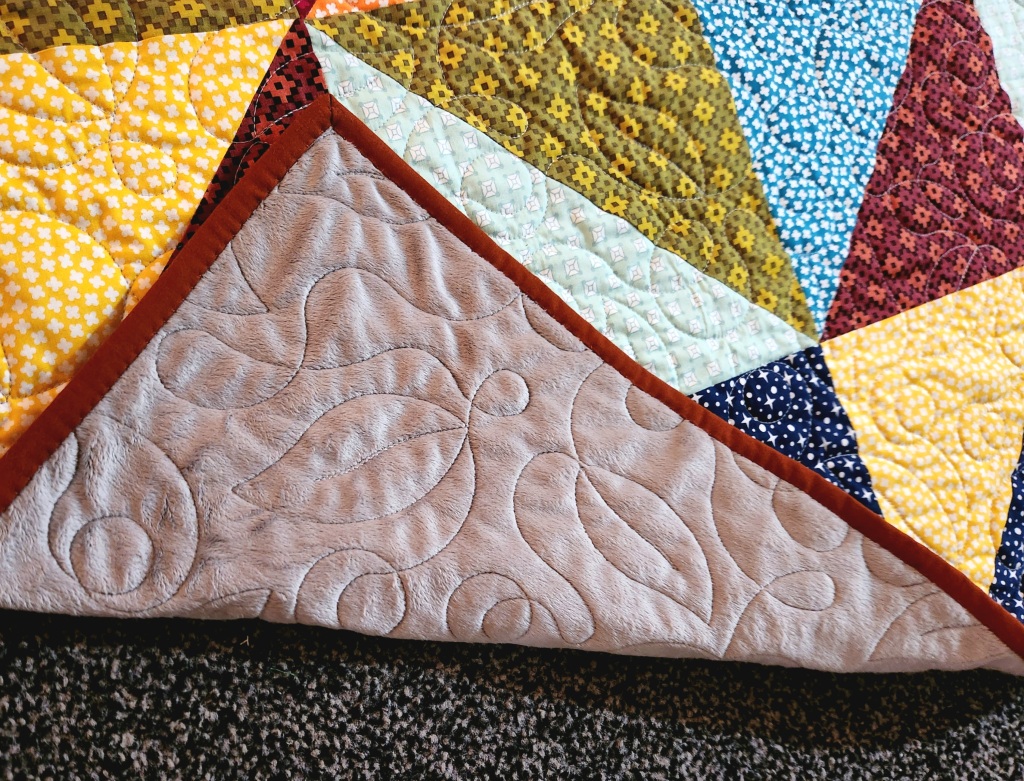
This piece deserved more than just edge-to-edge quilting. So I gave it to Jennifer (everyone needs a longarm genius for a buddy) and she did her magic.
There were pencil marks from the original maker that started the quilting idea.
We selected thicker polyester batting to provide enough lift to really make the quilting POP!
And the finish is a treasure. Shout hooray–another quilt given a second chance!
NOTE: This post first appeared in Online Quilt Magazine. If you haven’t subscribed yet today is the day to do it.
There is the inspiration, which leads to an idea, which leads to all current projects being pushed to the side and…
Ta-dah! A quilt.
The beauty of it (in this case) is that, not including the sashing and borders, all pieces for the blocks start as a single size square. And it doesn’t matter what size that square is (as long as they are all the same size).
So, you might want to dash about your sewing room and gather up those stashed squares that you have been wanting to make something out of. This might be just the thing!
Carole, of From My Carolina Home, has shared a local guild project: Cradle Quilts. You can LEARN MORE about it here.
As soon as I saw her post, I thought about some particular stacks of possibilities in the sewing room. Ah, yes, finally I have the right idea.
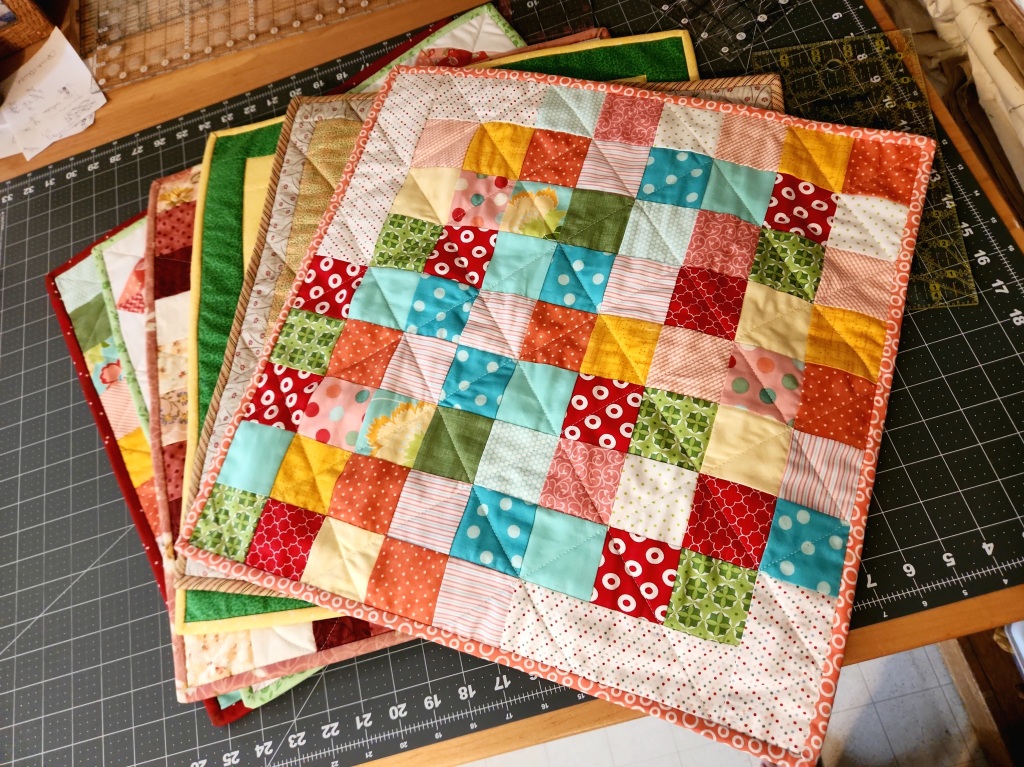
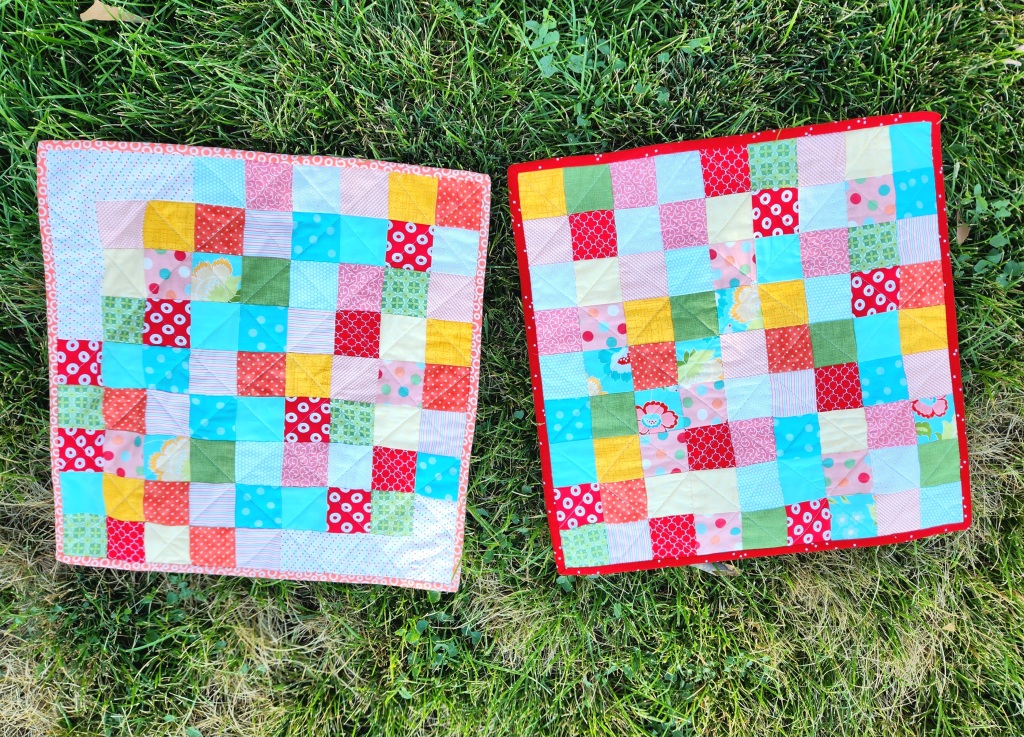
I may have gone a little berserk, but I was having a really good time. Really, you can put together an 18″ quilt in nearly no time at all. It is a great way to use up various leftover bits.
NOTE: I do not have process pictures for all, but am happy to answer questions.
Use 2-1/2″ squares. It takes 81 of them. Or, in this case, cut from leftover strips from another quilt.
2. Start with a 9″ block (finished size). Add three borders using 2″ strips. And you have a quilt.
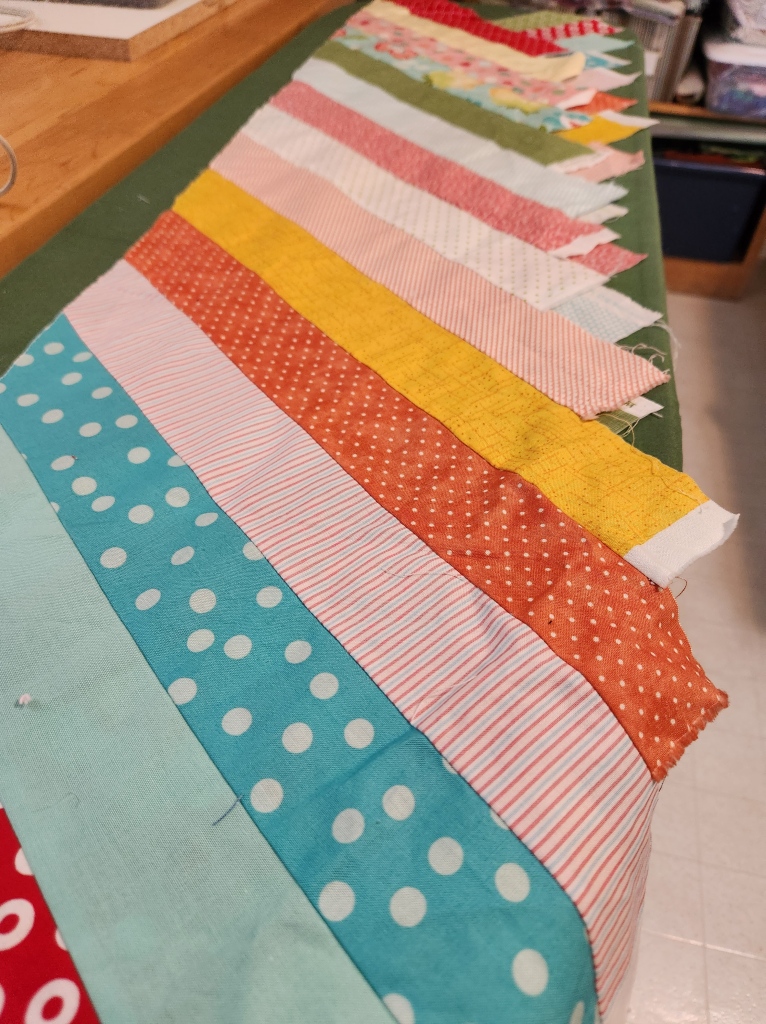
3. Have a pile of irregular strips? Trim to the widest width possible (In this case, 3-1/2″ down to 2-1/2″) and stitch together bargello style.
4. Have an awkward block? This one started with 2-1/2″ squares. I added strips on two sides and a unifying outer border.
5. Use Half Square Triangles. It takes 36 HSTs 3-1/2″ unfinished. These seemed a little odd, with the pieced halves. But, put together they make for a quick quilt.
All of the quilts used leftover batting pieced together and mostly leftover pieces of binding from other projects.
It was so much fun creating these quilts. And for such a great cause. Consider visiting Carole’s blog and seeing what else she has going on.
By following THIS LINK you can learn how to participate. The quilts need to be to Carole by November 9. That is lots of time. YAY! Always fun to find a new way to serve.
This quilt was inspired by a yard or so of fabric found at the thrift store.
Unusual for a baby quilt, perhaps, but it seemed perfect. I am certain someone will love it.
I’ll get a full tutorial later, but know that the blocks are made from 4-1/2″ squares. The points of the stars are 3″ squares using the stitch, trim and flip method. If none of that makes sense, feel free to ask questions or, as I said, a tutorial is coming.
I am certain this quilt, which will be donated, will find just the right home in time.
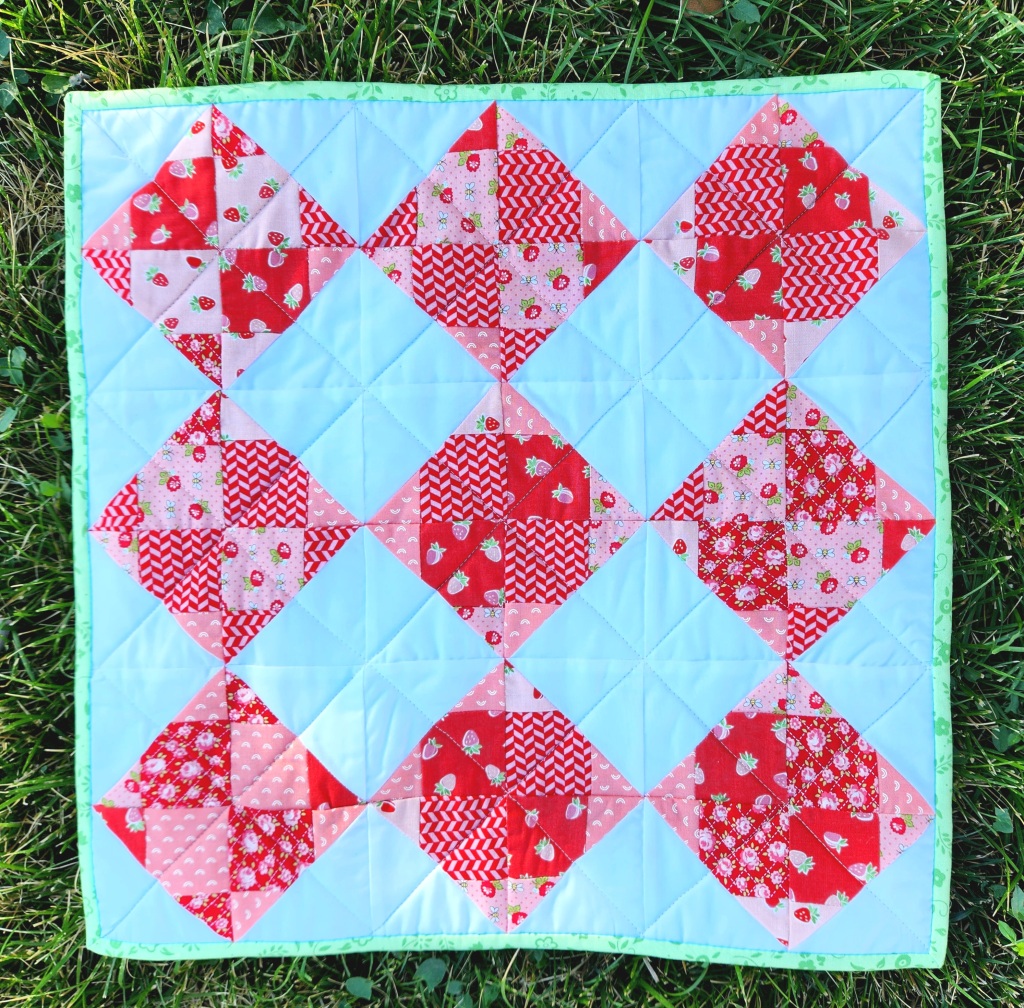
I am sure I saw a similar idea somewhere online, but this is my version. It uses the NO POINT STARS made famous by cluck-cluck-sew, resized to make a perfect 36″ baby quilt.
It went together quickly, and I enjoyed it so much I am making some variations and size suggestions into a tutorial. If you have charm packs or a layer cake laying around, it might be just the idea.
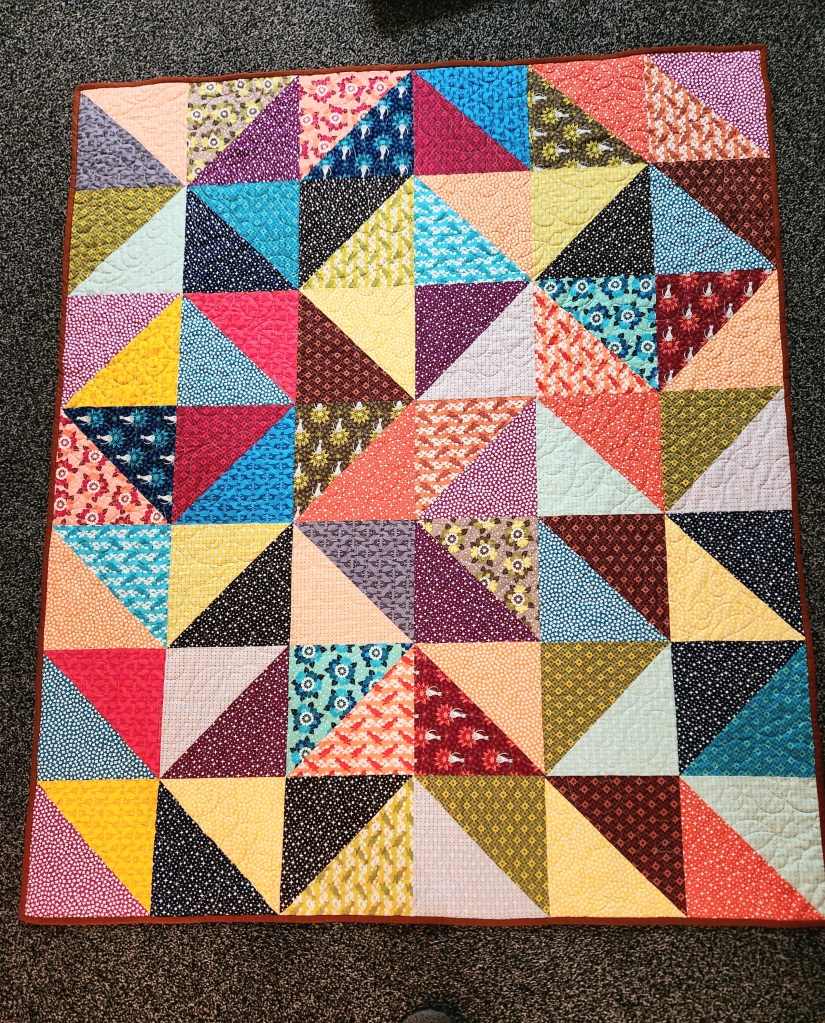
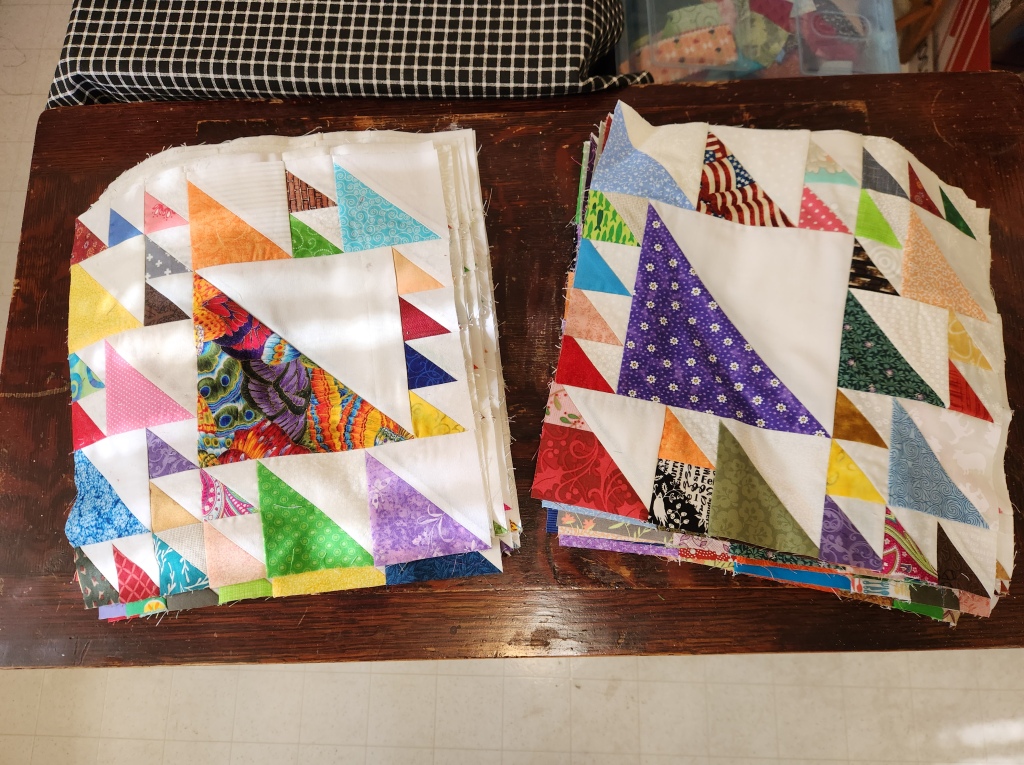
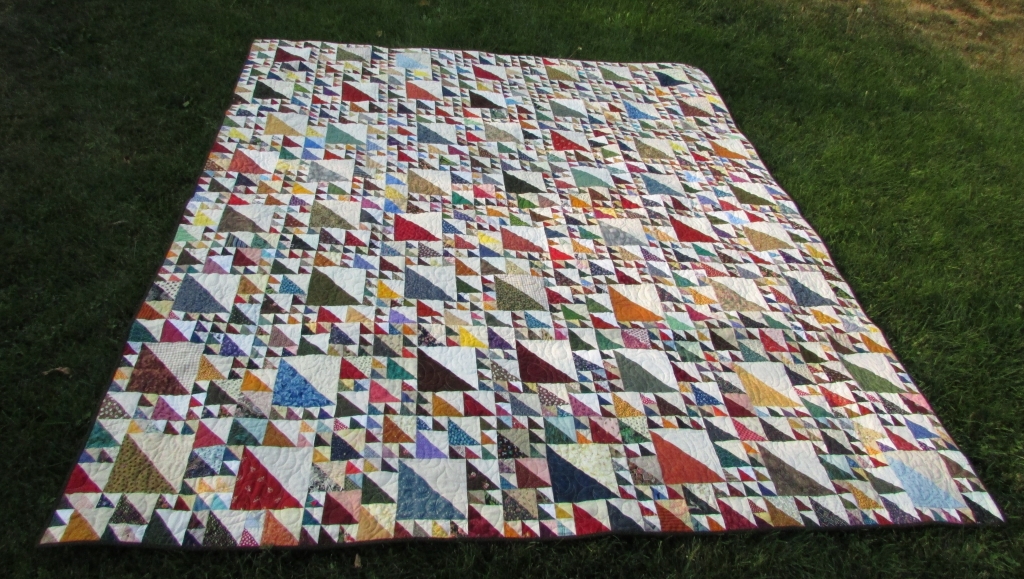
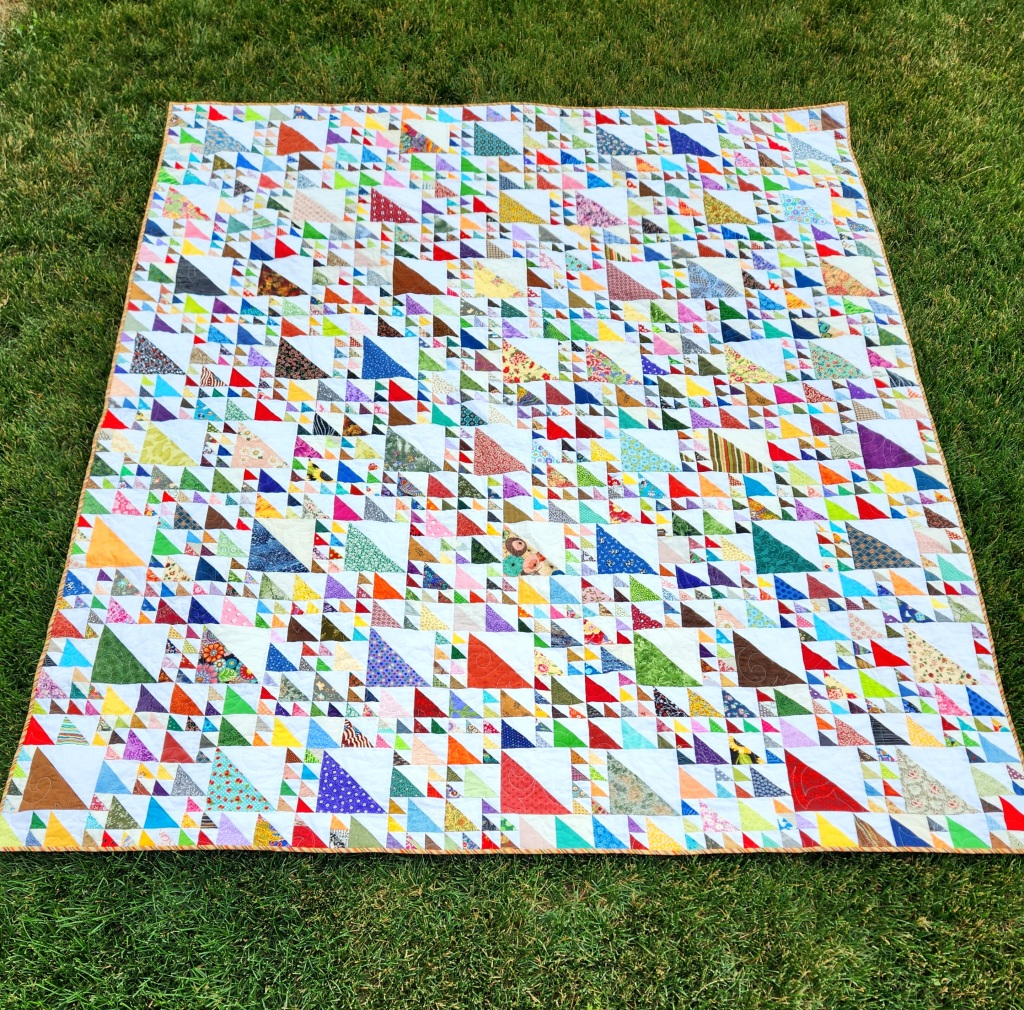
It is called Halfway because it started with a pizza box full of half-square triangles.
HALFWAY QUILTBLOCK
The secret is that there is only ONE set of cutting directions, but you can lay it out FOUR different ways. Of course, you can just do it one way for the entire quilt. There is nothing wrong with that. If you use more variations you will get more movement in the final quilt.
Here you can see the difference between FOUR variations on the left and TWO layouts on the right. It is up to you! Just get to work on those leftover half square triangles (HSTs), or create more for the occasion.
12-1/2″ Block
CUTTING
Each block requires the following: 1 6-1/2″ half square triangle, 7 3-1/2″ half square triangles, 20 2″ half square triangles. It works best if there is good contrast between the two sides.
ASSEMBLY
Now we get to the tricky-to-explain part. This is my original idea sketch. As you will see, I made myself notes: “cut the same, position differently”; “dark at the bottom, light on top” and “get four blocks by rotation 90 degrees each time.”
NOTE: The blocks pictured above are Variation 1 on the LEFT and Variation 2 on the RIGHT.
If you follow those directions (and ask questions when they do not make sense) you will get the blocks you expect. The image below will show how I assembled the blocks by creating sub-assemblies. The same groupings will work no matter which version of the block you are creating.
NOTE: You may want to print out the sketch so as to be able to physically turn it with the number of the desired variation at the bottom of the page when you are working to help you keep it straight.
Ta-dah! Before you know it, you will have blocks. I used 56 blocks (which seemed appropriate, as each block has 56 pieces) to create a queen-ish sized quilt 84″ x 96″.
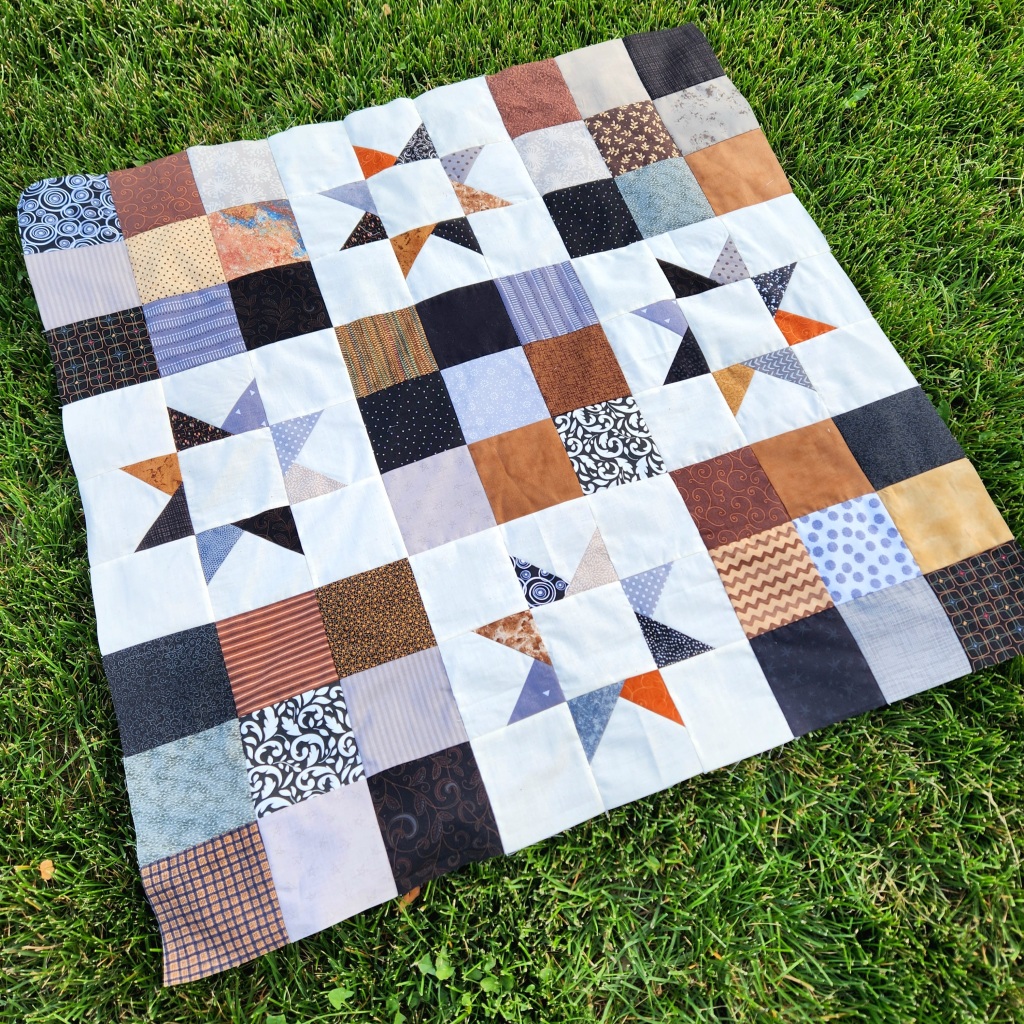
I had a stack of miscellaneous scraps. Just added some matching colors and a black for the sashing (to look a little like streets).
The piecing was good enough to take geometric quilting, which I usually avoid. But this time it felt right and adds to the traffic/construction feeling.
It finishes at 45″ square. I used leftovers to create the back. And into the donation pile it goes. YAY!